How to self-host n8n
Our in-house experts conduct independent, hands-on testing and transparent reviews of VPS hosting providers by using real server environments, and industry-recognized benchmarking methods to ensure impartial and evidence-based assessments
Using the same criteria for all VPS services, we share our detailed methodologies and testing practices to help customers compare performance, reliability, scalability, and overall value before choosing a virtual private server.
Learn more
n8n is a workflow automation platform that helps you connect apps and automate tasks. For example, you can use it to automatically save email attachments to cloud storage, send notifications between apps, or build AI-powered workflows, without writing much code.
Many users choose to self-host n8n because they get more control over their data, and it can be more affordable than paying for a subscription. Self-hosting also removes workflow execution limits and allows you to customize the platform to fit your needs.
Although you can run n8n on your own computer, a VPS is usually the best option. A VPS keeps your workflows running 24/7, even when your computer is turned off, while providing better performance, reliability, and security.
In this guide, I'll show you how to self-host n8n on a VPS, explain the available deployment methods, and walk you through the steps to get your automation workflows up and running.
Summary: the best way to self-host n8n
The easiest way to self-host n8n is on a VPS using Docker. This setup gives you full control over your workflows, predictable pricing, easy scalability, and enough resources to handle both personal and business automation use cases. Here are my top 3 VPS providers for running n8n:
- Hostinger – top choice for one-click n8n installations
- Bluehost – budget-friendly VPS option for running n8n
- Liquid Web – high-performance managed or self-managed VPS hosting
How to self-host n8n on a VPS
There are two ways to host n8n: you can use a VPS that is specifically optimized for n8n, or you can set it up on a standard VPS that isn’t preconfigured for it. Both approaches work, but they differ in terms of setup complexity and how quickly you can get started.
In the next sections, I’ll walk you through both options so you can choose the one that fits your needs best.
How to deploy n8n on n8n VPS
For this guide, I’m using Hostinger because it offers one of the easiest ways to self-host n8n with minimal manual configuration. It provides a VPS option with a preconfigured n8n template, making it easier to get started than setting up everything from scratch on a standard server.
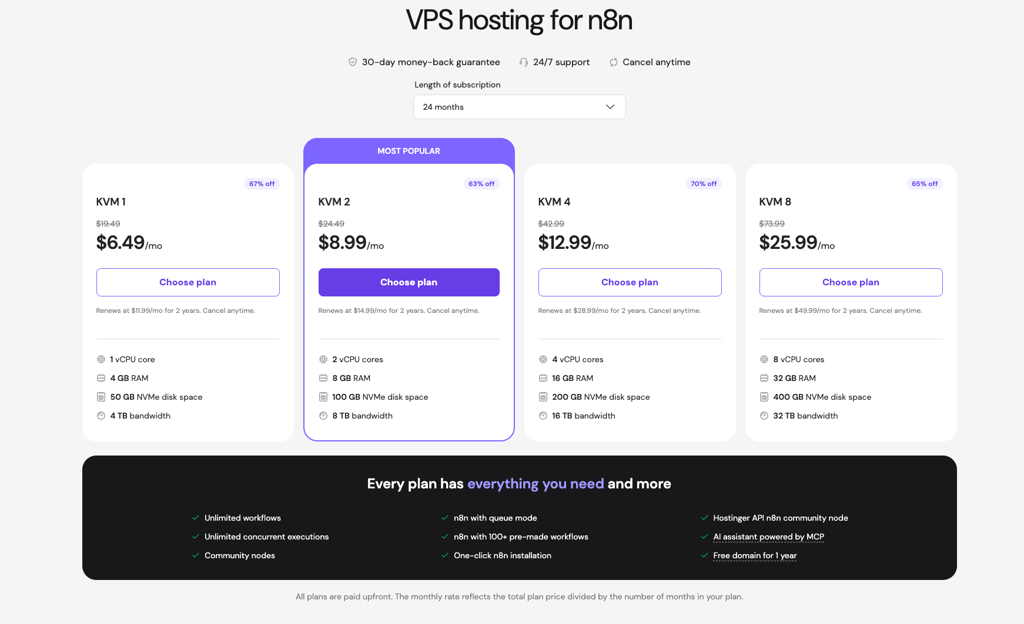
Step 1. Choose a VPS plan
Start by signing up with Hostinger and purchasing a VPS hosting plan. For this guide, I used the VPS KVM 2 plan, which is my preferred option for running n8n smoothly for most personal and business workflows.
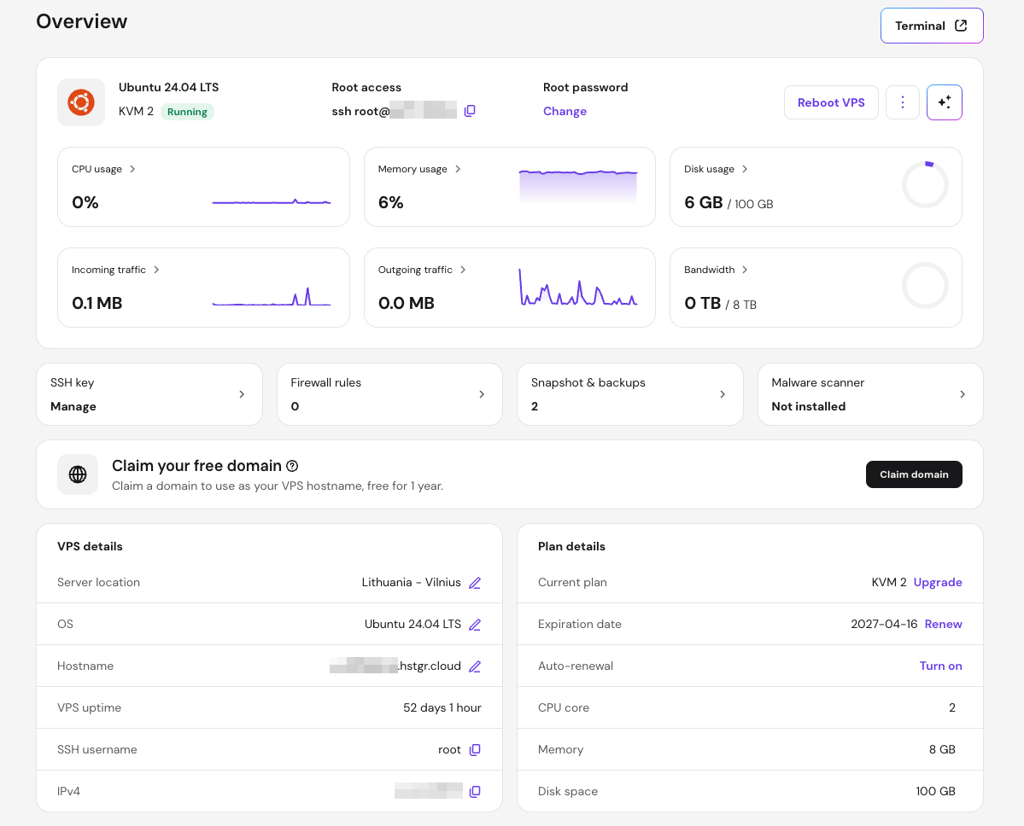
Step 2. Access your VPS dashboard
Once your VPS is set up, log in to your account at hpanel.hostinger.com and open the VPS management dashboard.
Step 3. Go to the application installer
In your VPS dashboard, navigate to OS & Panel, click on Operating System, and then choose Application. This section lets you pick from preconfigured operating systems and apps.
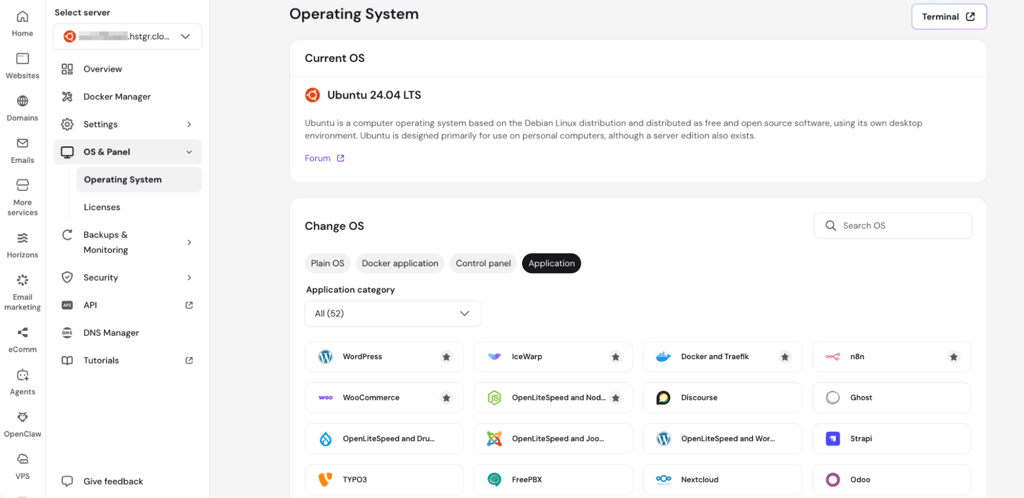
Step 4. Install n8n
From the available applications, select n8n and follow the installation instructions shown on the screen. The process is mostly automated, so you won’t have to do any manual Docker setup.

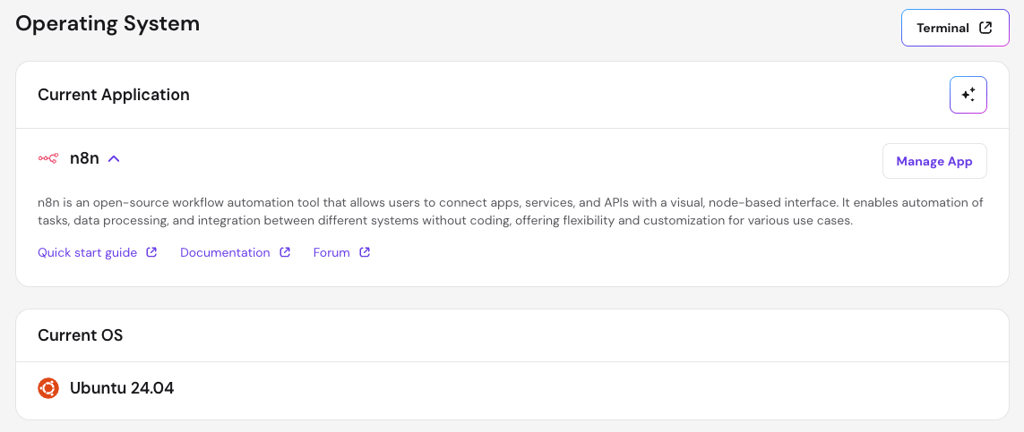
Step 5. Wait for the installation to complete
Give the installation a few minutes to complete. Once it’s done, you will see the n8n management panel available at the top of your VPS dashboard. From there, you can access your instance and start creating workflows.
How to deploy n8n on a typical VPS
A typical VPS is a standard Linux server, usually Ubuntu, where nothing is preconfigured for n8n. It requires you to manually install and set up everything. For this guide, I used a basic Ubuntu VPS and completed the setup entirely via CLI. The steps are similar across most VPS providers. Since I didn’t connect a domain, I accessed n8n via the VPS IP address. This setup doesn’t include HTTPS, so it should be treated as a basic, non-production configuration.
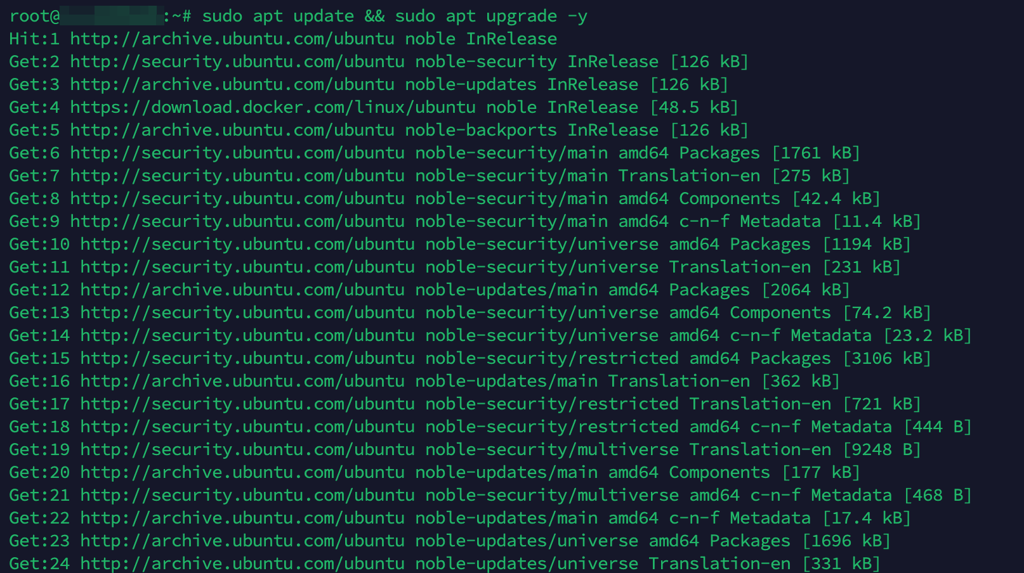
Step 1. Update your system
Run a full system update to make sure everything is up to date: sudo apt update && sudo apt upgrade -y
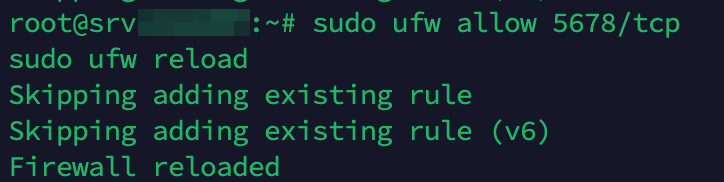
Step 2. Configure the firewall
Open port 5678 for n8n access using UFW or your provider’s firewall panel. If you’re using a domain, you’ll also need ports 80 and 443 open.
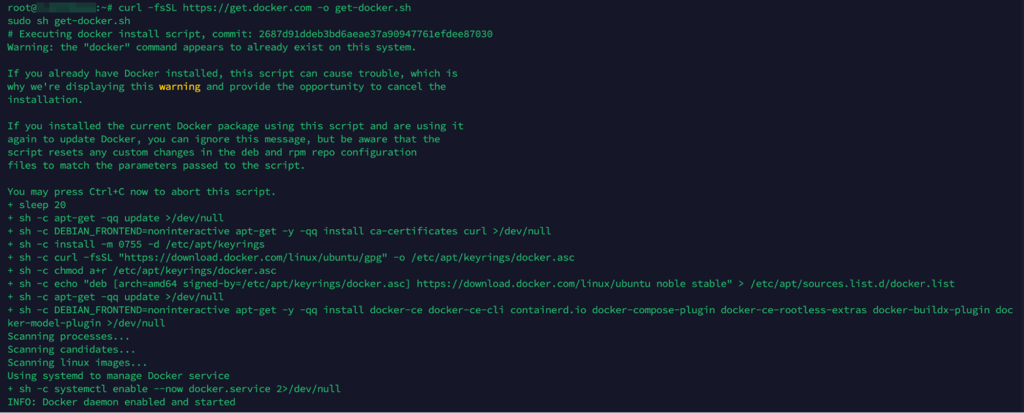
Step 3. Install Docker
Install Docker Engine on your VPS so you can run n8n in a container.
Step 4. Create your project folder
Set up a directory for n8n files: mkdir ~/n8n
Step 5. Create a Docker Compose file
Create and edit your docker-compose.yml file: nano docker-compose.yml
Add your VPS IP address (or domain if you have one) as the n8n host. If using a domain, you would also configure a Caddy file for SSL/TLS certificates.
Step 6. Start n8n
Run the container: sudo docker compose up -d

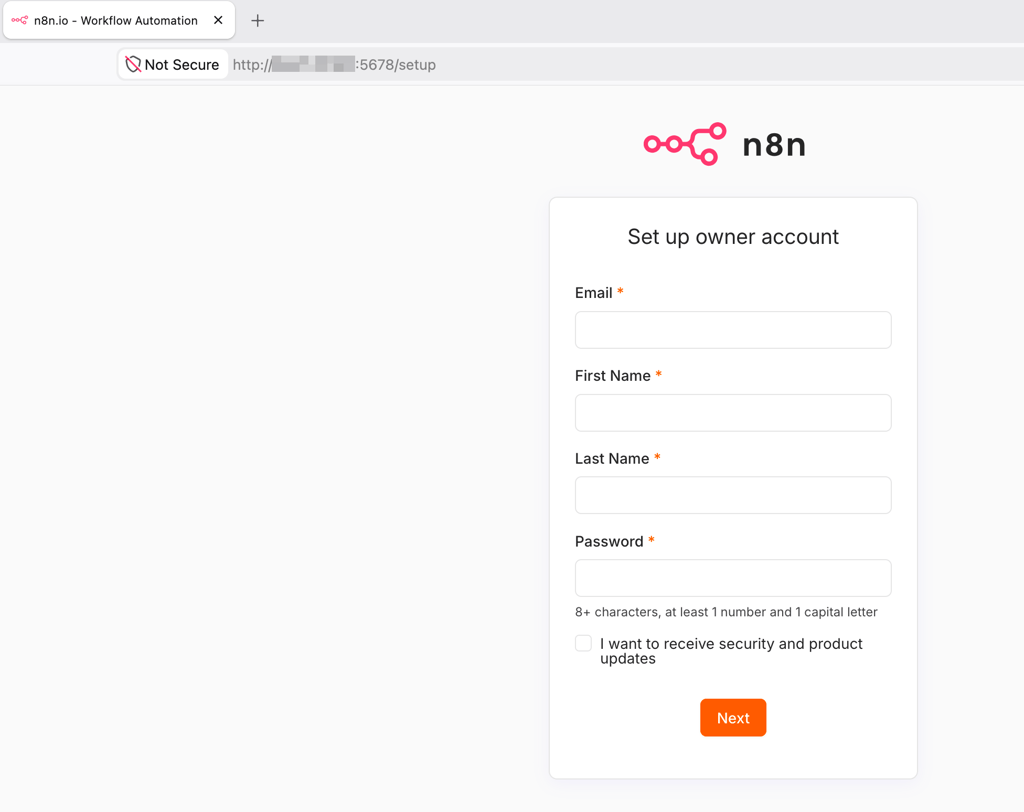
Step 7. Access n8n
Once everything is running, open your browser and go to: http://YOUR_VPS_IP:5678
Your n8n instance should now be live and accessible.
Final thoughts
Self-hosting n8n provides you with full control over your workflows, better flexibility, and the ability to scale as needs grow. The main choice you have to make is whether you prefer a preconfigured VPS or a standard VPS with more control but manual configuration.
If you are looking for the easiest way to get started, I recommend Hostinger. It includes a preconfigured n8n template that removes most of the setup work, allowing users to focus on building workflows.