A quick guide to Coolify: your new self-hosting platform

If you’re looking for an easy way to self-host your applications, Coolify is a platform designed to streamline the process. In this guide, we’ll walk you through what Coolify is, how it’s used, and how to set it up on your VPS.
What is Coolify?
Coolify is an open-source platform-as-a-service (PaaS) that simplifies and optimizes self-hosting and management of applications like WordPress, Ghost, and Plausible Analytics.
Designed for developers and IT professionals, it simplifies deployment and management with an easy-to-use graphical interface and seamless tool integrations.
Key features of Coolify:
- Intuitive dashboard. Coolify’s sleek, minimalist interface reduces clutter, making navigating and accessing the right tools easy.
- Broad software compatibility. It supports various applications built on different frameworks and platforms, including Docker-based apps.
- Powerful API. Coolify provides a powerful API that allows you to automate deployments, manage resources, and integrate seamlessly with your existing tools.
- Webhooks. Easily integrate with your CI/CD pipelines or build custom workflows using tools like GitHub Actions, GitLab CI, Bitbucket Pipelines, or any other CI/CD solution you prefer.
What is Coolify used for?
Also known as an open-source and self-hostable Heroku/Netlify/Vercel alternative, here are the use cases of Coolify.
First, hosting web applications. Coolify allows you to self-host various applications, such as those built with Docker, WordPress, or other common platforms. It simplifies setting up and managing these apps without diving into complex server configurations.
Second, development and CI/CD. One of Coolify’s standout features is its Git integration. By connecting your GitHub, GitLab, or Bitbucket repository, you can easily deploy your code directly to Coolify with automatic updates on every push. This is ideal for CI/CD pipelines, reducing the need for manual deployments.
Third, running databases. Coolify also allows you to host databases for your web apps, making setting up and managing backend systems easier without requiring extra tools or configurations.
Lastly, streamline collaboration. Coolify lets you add new users and control their permissions. You can assign roles like admin, developer, or viewer, ensuring secure and efficient collaboration on your projects without compromising control.
How to set up Coolify on Hostinger VPS?
Setting up Coolify on your Hostinger VPS is quick and simple. Follow the steps below to get started:
1. Set up your Hostinger VPS
Before installing Coolify, you need a VPS. If you don’t have one already, you can quickly set one up with Hostinger. It provides a Coolify VPS template, so you can have a pre-configured environment ready in no time.
To start, go to Hostinger Coolify VPS hosting page. Choose the VPS plan that suits your needs and complete the purchase. The most popular plan is $5.99/month.
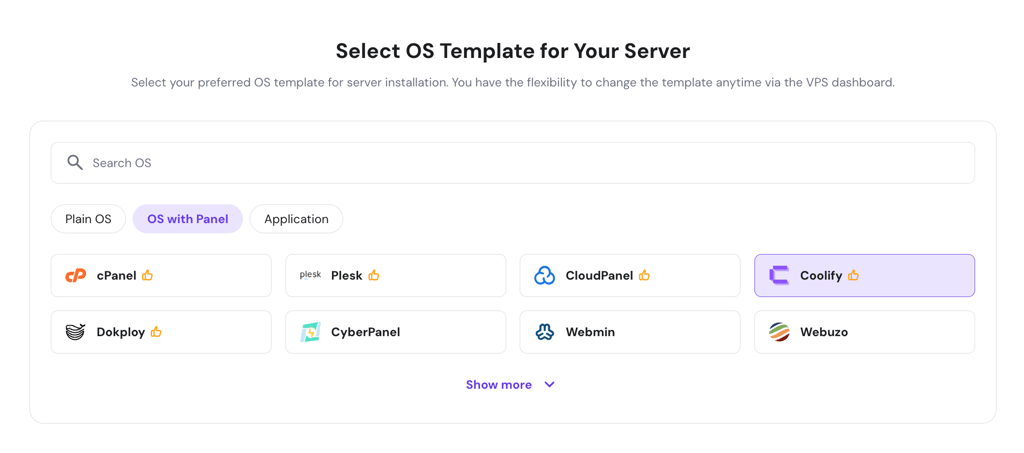
Next, follow the guided setup and choose your server location and VPS template. Select Coolify from the list.
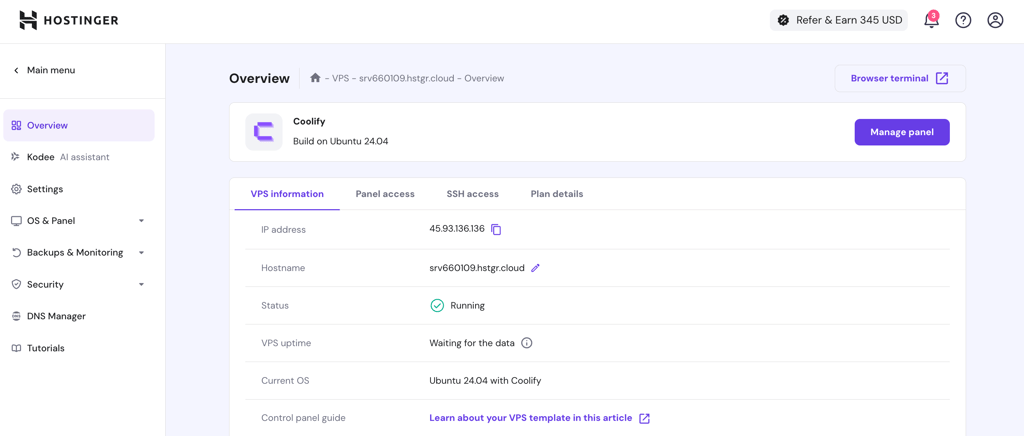
After that, create your root password and VPS hostname and set up an SSH key. Follow the on-screen instructions to complete the process within a minute. Once done, you can access your VPS dashboard from Hostinger’s hPanel.
2. Set up Coolify
On the hPanel, click the Manage panel button to create your Coolify account.

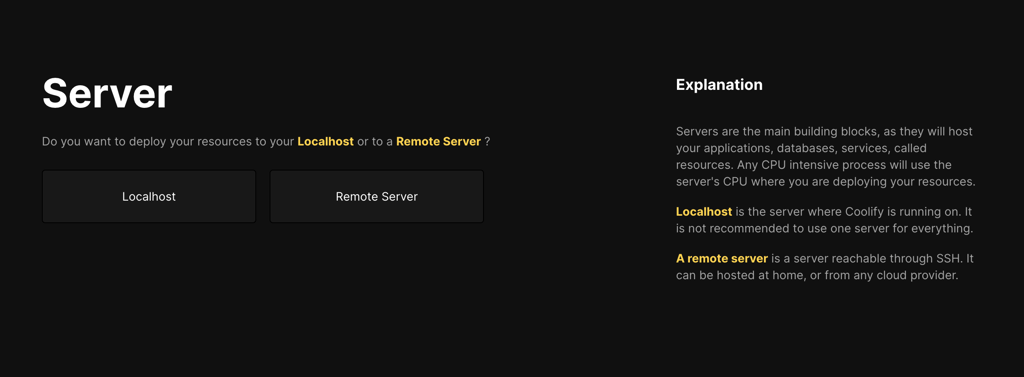
Follow the short onboarding process, including choosing where you want to deploy your resources. Choose Localhost if this is your only Coolify server.
Once done, you’ll be taken to the Projects page to start your new project.

4. Deploy your first apps
With Coolify set up, you can now start hosting and deploying your applications. Whether you're using a pre-configured application stack or deploying via Git, Coolify makes it easy to manage your apps.
Check out these Coolify examples to guide your process.
Conclusion
In this guide, we covered the basics of Coolify, including its use cases and how to set it up on your Hostinger VPS. Whether you’re hosting web applications, running databases, or automating your development workflows, Coolify offers a straightforward solution to self-hosting.
By following the steps above, you’ll be up and running with Coolify in no time.