HeadShotPro review 2026
Being behind major reports like The Mother of All Breaches and RockYou2024, our in-house cybersecurity experts and journalists provide unbiased, real-world testing and in-depth analysis.
We maintain complete transparency by openly sharing our testing methodologies with our audience.
Learn more
Professional headshots used to mean scheduling a photographer, commuting to a studio, and waiting days for edited photos. HeadShotPro aims to change that with AI-powered headshot generation that promises studio-quality results in about two hours, all from your computer.
As a Cybernews researcher studying all the AI photography tools, I collaborated with our research group to examine the functionality of HeadShotPro, looking into user experience, technical specs, and actual outcomes. Although we didn’t comprehensively test the tool, we have studied the available user data and technical details, and they showcase both remarkable powers and significant weaknesses.
This review breaks down HeadShotPro's key features, pricing, and performance to help you decide if AI-generated headshots are the right choice for your professional image needs. I'll focus on image quality, ease of use, and value compared to traditional photography.
Quick overview of HeadShotPro
| Overall rating: | |
| Brief description: | HeadShotPro is an AI-powered tool that helps you create incredible professional headshots in up to 2 hours. You just need to upload a few photos, choose your preferred style, and watch as it generates over 100 realistic headshot options. HeadshotPro is one of the most trusted AI headshot generators, as it implements advanced technology to deliver the most lifelike results. |
| Pricing: | From $25.00 |
What is HeadShotPro?
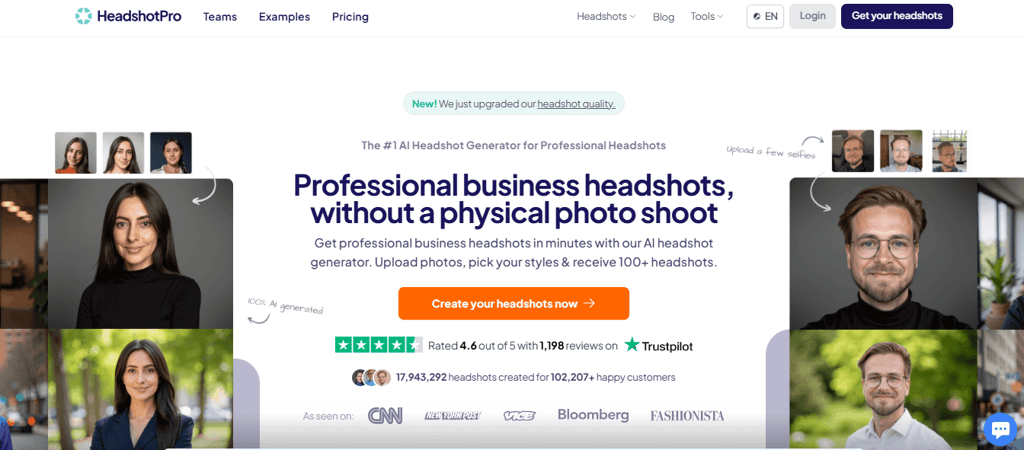
HeadShotPro is a Holland-based AI-powered tool that revolutionizes the creation of professional headshots. Thanks to its AI technology utilization, you won’t need to schedule photo shoots and wait for the edited results.
With just a few simple steps, you can generate 100+ high-quality photos from the comfort of your home. First, you need to upload a few selfies to the platform. Once you've made your selections, the AI technology takes over and generates hundreds of professional-looking and realistic headshots in 1-2 hours.
Finally, you just need to download the photos that best suit your needs, whether for your LinkedIn profile, company website, or social media. The ease of HeadShotPro’s generating process makes it a suitable solution for anyone seeking professional-quality headshots without the hassle of traditional photography.
Pros and cons of HeadShotPro
Key features of HeadShotPro
HeadShotPro comes with a lot of features. However, you should know that this AI-driven tool has a few key features that make it stand out from its competitors. That’s why I decided to explore its aspects more and conduct detailed research to help you make an informed decision. Let’s check out the key features of HeadShotPro together!
High-quality headshots
HeadShotPro relies on advanced AI technology to create realistic and professional-quality pictures. HeadShotPro has trained its AI model on a vast dataset of high-quality input photos.
Still, the quality of the input photos determines the output quality. So, you need to provide selfies with varied facial expressions, backgrounds, and lighting conditions. After that, its AI technology analyzes your photos and generates numerous headshots, each with unique lighting, pose, and expression.
However, some customers point out some limitations of HeadShotPro, such as the requirement for taking around 20 pictures and not getting accurate results.
Customization options
From what I could find out after conducting my research and going through various user testimonials, HeadShotPro has decent customization options. More precisely, you can pick multiple styles, backgrounds, different poses, or even lighting options.
Due to this, the HeadShotPro-generated pictures can easily match your brand or personal preferences, adding value to those who look for professional looks or enhancing their industry standards.
Fast processing
Getting a professional headshot can be tricky. You need to look for a professional photographer, contact him, and find the one that fits your budget or daily schedule.
Luckily, HeadShotPro reduces this hassle. Thanks to its simple three-step process, you will receive over 100 customized headshots in around two hours with all of its packages. This feature particularly benefits users on tight schedules who don’t want to waste time getting a professional photography session.
Budget-friendly plans
Another thing that sets HeadShotPro apart from its competitors is its affordability aspect. Simply put, getting a professional and high-quality photo has never been more budget-friendly, especially compared to expensive traditional photography sessions.
HeadShotPro has a free version and three paid subscriptions. Therefore, it’s accessible to a wide range of users, from freelancers to corporate professionals. You can get a high-quality photo for as low as $29.
AI-driven photo enhancements
The AI technology behind HeadShotPro automatically enhances photo quality and corrects common flaws. On top of this, the company continuously updates it to follow the latest trends and make your photos look realistic and professional. Due to this, you can expect enhanced colors, lighting, and any other details that make your photo look not-so-good.
However, there are a few complaints about this. Some users claim that HeadShotPro didn’t meet their expectations and required extremely high-quality input photos. This requirement surprised some users, as they rightly pointed out that photos requiring correction would not typically be the best-looking images. Furthermore, there are complaints about the photos’ accuracy, so hopefully HeadShotPro will improve this.
HeadShotPro pricing and plans
| Basic | Professional | Executive | |
| Price: | $25.00 | $39 | $59 |
| What’s included: |
|
|
|
As you can see from the table above, HeadShotPro comes with three pricing plans: Basic, Professional, and Executive subscriptions. Due to this, you can pick the option that suits your individual or professional needs the most and get high-quality and realistic photos for personal or business use.
Even better, there’s a free version of HeadShotPro. But you need to be aware that the free option only removes the background of your uploaded image and replaces it with a simple pattern.
HeadShotPro: user experience
After conducting in-depth research and analyzing the HeadShotPro user experience, I can say that this AI-driven headshot generator lives up to the expectations of numerous users.
More precisely, HeadShotPro received a 4.6-star rating on Trustpilot. Users claim that the generating process is extremely simple. Also, they find the signing up and the user interface pretty great. From what I’ve seen, there are no complaints about these aspects. In fact, users say they had no issues navigating through the platform.
Also, they have a positive experience regarding the ease of uploading photos and selecting styles. According to them, you will get AI-generated pictures of you that are worth using after uploading a few selfies. You can even choose different styles.
Still, some users didn’t like HeadShotPro. The most common complaints were about the quality of the generating process, which some users felt wasn’t particularly accurate. For example, women with longer hair had issues getting a picture that resembled them as the tool required them to upload a selfie up close and ended up with pictures of them with bob haircuts.
Another thing that users disliked was that they needed to upload 15-20 high-quality photos, and some argued that even the slightest obstacles in front of a subject’s face hurt the results.
How to generate headshots with HeadShotPro
Generating headshots with HeadShotPro is a piece of cake. However, I decided to help you learn more about the process and developed a detailed guide. Let’s have a look first at the step-by-step guide before we delve into more detail:
- Create a HeadShotPro account
- Select a pricing package
- Choose your preferred headshot style
- Upload your photos
- Submit the photos and generate professional-quality pictures
Now that you have a brief overview, let’s go more in-depth and learn how the headshots generation process works:
-
The first step of the process is creating an account. To do this, open the official HeadShotPro website and click the “Get your headshots” button in the upper-right corner.tinyy
-
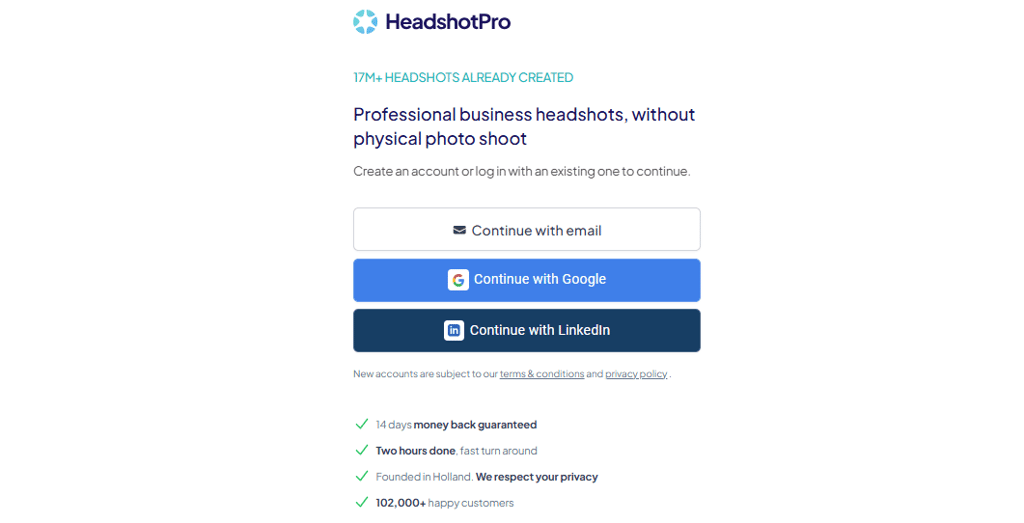
Once you click on it, the system will redirect you to the next page, where you must select how to continue with your login. Choose some of the listed methods, like Continue with email, Google, or LinkedIn.
-
I selected the email option, and the next thing that appeared on the screen was whether I wanted to create an account or already had one. If you’re not a HeadShotPro user, click “I’m new here.”

-
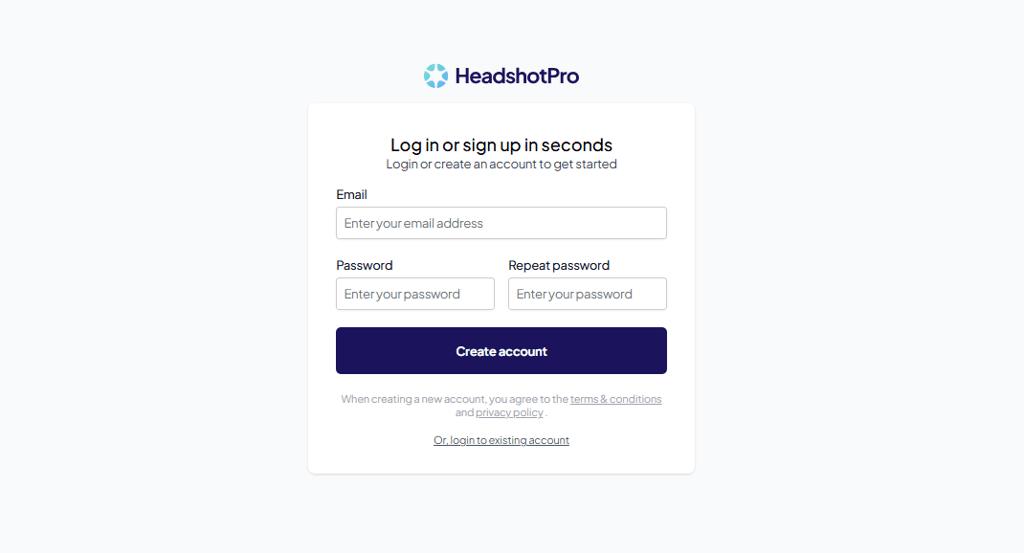
Then, you must add personal details, such as your email and password. After you do this, press “Create account.”
-
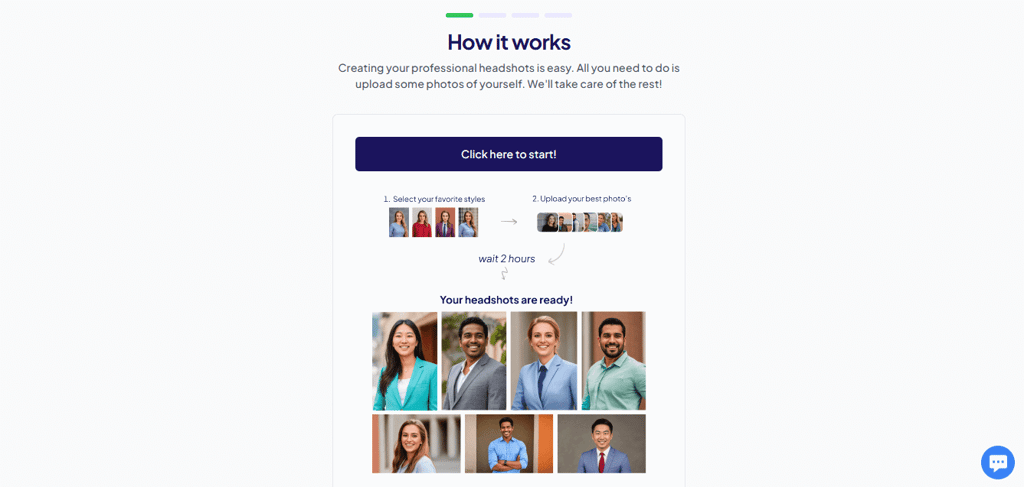
I really liked the fact that HeadShotPro provided me with a short guide on how the platform works as soon as I entered my details. There are only three steps in the entire process. After you finish reviewing it, select “Click here to start!”
-
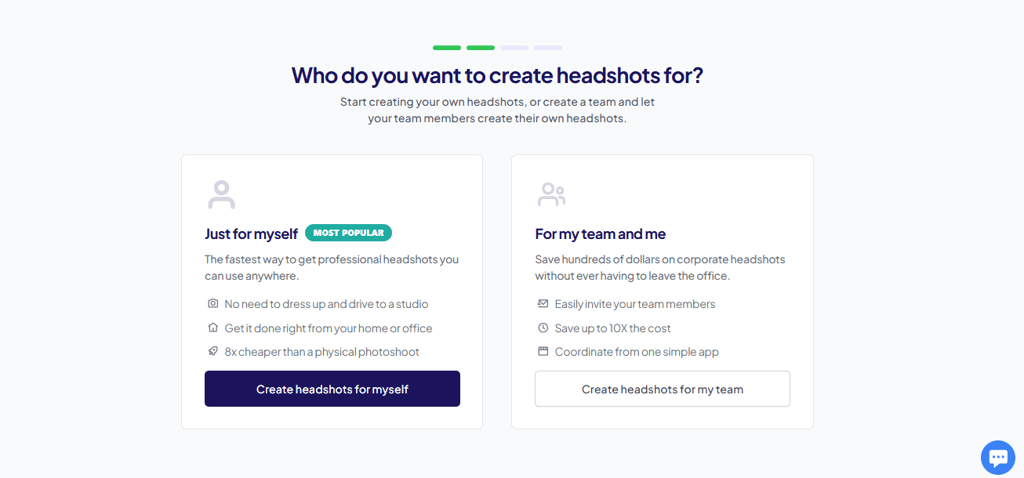
The next step is to choose who you want to create headshots for. More precisely, you can create pictures for yourself or your team. I selected “Create headshots for me” for my review.
-
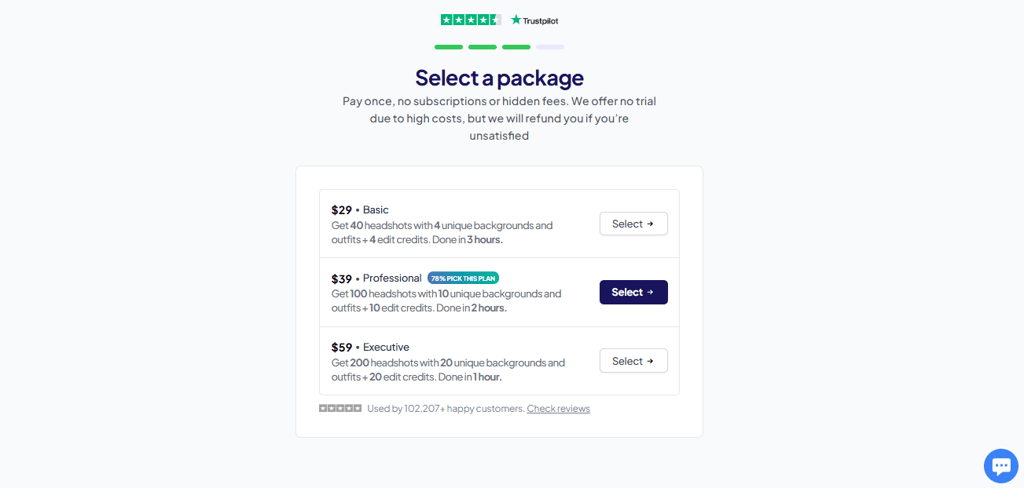
Once you complete the previous step, the system will redirect you to select your preferred pricing option. Here, you can pick the Basic, Professional, or Executive subscription according to how many headshots you have and how fast you’d like to get them. Click “Select” when you’re sure about your choice.
-
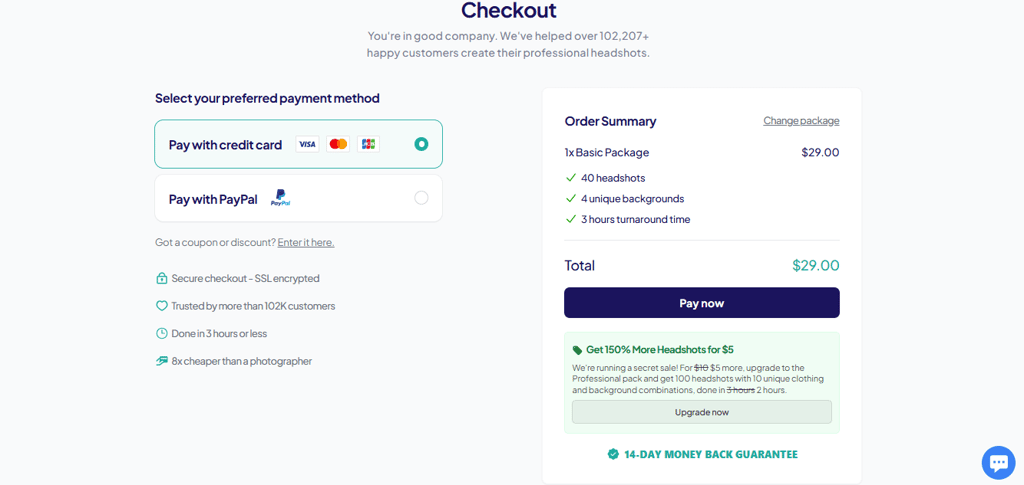
You’ll then proceed with the payment. First, you must select your payment method, such as whether you’ll pay with a credit card or PayPal. I prefer using my credit card, so if you do, just click “Pay now.”
-
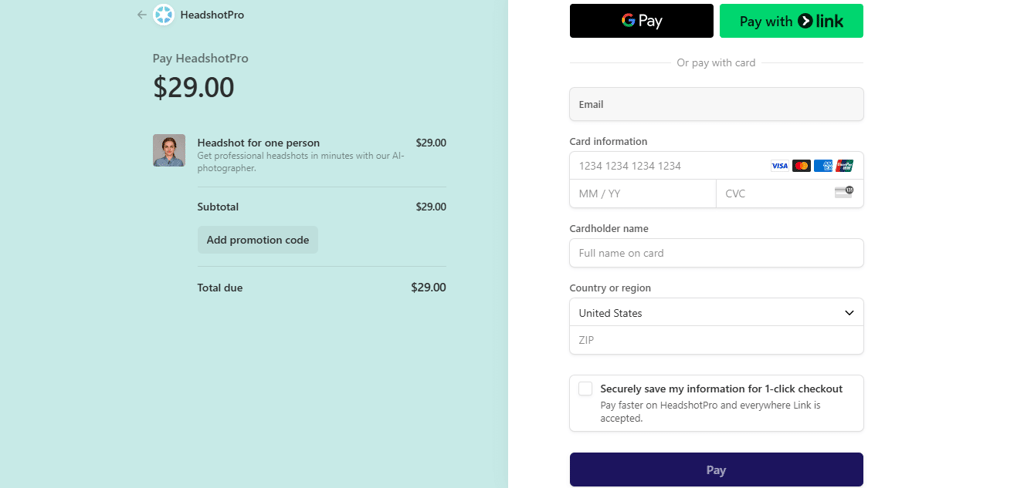
The last signup process step is filling in your payment details. You must enter your card information (number, expiration date, and code), cardholder name, country or region, and ZIP code (if applicable). After you finish, scroll down and press “Pay.”
-
That’s it from the signup process, but now it’s time to generate a high-quality photo that you’ll use for what you need. I really liked that HeadShotPro gives you an overview of its requirements, as you can’t retry it once you’ve chosen your pics. Some of the tips I received were:
1. Upload photos of your face directly facing the camera.
2. Provide a photo showing your upper body, ensuring your face is not too small.
3. Upload pictures taken on different days with different lighting and angles.
4. Do not wear sunglasses.
5. Do not upload photos with exposed skin.
6. Ensure you are displaying a variety of emotions.
7. Ensure the photos have different backgrounds.
8. Do not upload pictures of you wearing too much makeup.
9. Do not use old photos to avoid looking like your older self.
10. The app will default to the most commonly used emotions and light exposure.
-
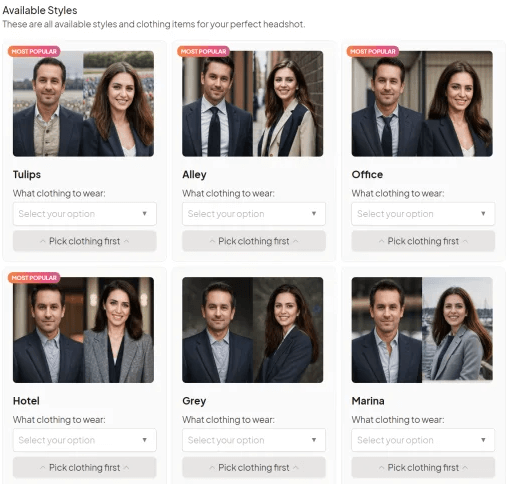
Then, you’ll need to choose a headshot style. Depending on your package, you must select a different number of styles. These included picking the type of clothing and background I wanted. Once you finish, click on “Next.”
-
Next, I was required to upload at least 17 photos of a minimum of 512 pixels. Also, select your gender and enter your name, age, eye color, and ethnicity (optional). Once you upload them, HeadShotPro will immediately let you know if some fail to fulfill the requirements. In that case, you’ll need to upload more or delete incompatible ones.

- The last step is to submit the pics you’ve chosen. This is an excellent opportunity to make the best decision and delete some of the selfies you’ve input if you’re unsatisfied with them. After that, you wait for a while as the processing completes, and you will receive numerous AI-generated headshots.
HeadShotPro alternatives
If HeadShotPro doesn’t totally meet your expectations, you can check out some of the alternatives I’ve discovered:
- BetterPic. BetterPic is a fast and affordable solution for generating headshots. It offers higher resolution headshots (4K) and faster delivery (under an hour vs. HeadShotPro's two hours). It provides similar customization options for outfits and backgrounds, plus a unique Human Edit feature for additional quality control. However, without a free trial option like HeadShotPro's, you must commit to a paid plan to test its capabilities.
- AI Suitup. This tool offers customizable headshot creation with various style options. However, it’s cheaper than HeadShotPro and offers different viewpoints, camera angles, outfits, and hairstyles. You’ll also get your final product in around 40 minutes via email.
- Remini. Remini’s AI processes focus on delivering high-quality pictures. If you have old, blurry, or pixelated pictures, Remini can often make them look sharper and clearer with just one tap. What’s different from HeadShotPro is that you can even use full-body pics, not just selfies, and you don’t need to upload many photos. However, some pics don’t look natural, and the tool may slightly change your face.
Other AI tool reviews you might be interested in:
Final word on HeadShotPro review
If you want a budget-friendly yet effective solution for professional headshots, HeadShotPro might be your best option. This AI-driven tool reduces the hassle of looking for a professional photographer and creates high-quality pics in around two hours.
However, customization and quality control might have some limitations. Still, HeadShotPro is worth trying. So, if you’re a freelancer or remote professional who wants to get professional-looking photos in no time, you won’t be mistaken if you go for this tool.
Before selecting this tool, you should weigh the pros and cons based on your specific customization and image quality needs.
FAQ
Can I use HeadShotPro for corporate headshots?
Yes, HeadShotPro generates professional headshots suitable for corporate use, producing images that meet standard business photography requirements.
Do I need any photography skills to use HeadShotPro?
No, the process requires only basic selfie photos taken with your phone. The AI handles all technical aspects of creating a professional headshot.
Are the headshots suitable for print?
Yes, HeadShotPro generates the images at high resolution (1024 x 1024 pixels), and you can print them in standard headshot sizes with good-quality results.
What styles can I choose from in HeadShotPro?
HeadShotPro offers 13 background styles, including neutral studio settings like Grey, White, and Blue, outdoor environments like Parks, Streets, and Alley, or professional settings like Office and Window.
Is my data safe with HeadShotPro?
Yes, HeadShotPro uses encrypted data transfer, deletes source photos after processing, and follows standard data protection protocols to secure your information.