How to create a website to sell products or services – step-by-step guide
Our team of experts and researchers rigorously test and evaluate website builders through transparent, in-depth testing procedures and methods using both in-house and industry-approved tools.
Drawing on cybersecurity insights, we provide unbiased, empirical rankings and analysis to help users make informed digital platform choices.
Learn more
If you want to build a sustainable online business, you must know how to create a website to sell products or services. When you create a website to sell products instead of selling on a marketplace, you’re ahead of your old-fashioned competitors. You own the customer experience from start to finish, and handle everything from design to the checkout process, to direct interactions with customers. Unlike a brick-and-mortar store limited by opening hours and geography, an online store is open 24/7, reaching customers around the globe.
Learning how to build a website to sell products or services is now the perfect long-term business investment. The timing is perfect: global ecommerce sales are projected at about $8.3 trillion in 2025, up 55.3% since 2021. According to ClearlyPayments, over 70% of those sales now happen on mobile devices. Clearly, creating a website for selling products is a must for entrepreneurs, side hustlers, and established brands in 2026.
Take Alex’s online store story. Alex made leather wallets as a side hustle, while people asked for years if he had a website. At first he hesitated, but eventually Alex decided to build a website to sell products directly. He chose a domain, set up a store with WooCommerce, added product photos, and connected payments. Ultimately, he created a professional website where customers could directly browse and buy. As time went on, reviews, SEO, and promotions helped Alex grow beyond local sales into a full-time ecommerce business.
Marketplaces aren’t all that bad, though. For example, ChannelEngine states Amazon and Etsy attract massive audiences – 63% of consumers say they prefer them for convenience and variety. Then again, running your own site gives you full brand control and higher margins.
Step 1 – define your target audience and research the competition
Before anything, ask yourself who you’re trying to sell to. This ecommerce tip will earn you more sales.
More specifically, your target audience isn’t just “everyone” – that would be a common beginner mistake. Instead, think of a real person, how old they are, and what their budget is. Do they prefer PayPal because it feels safe, or Apple Pay because it’s convenient and instant? A mindset like this will positively affect everything from your store design to how you write product descriptions.
After you’ve visualized that, think about your competition – and imagine you're a customer. Read customer reviews on their products, watch how they write their emails, and see if their sites load fast on mobile, or if their checkout feels broken.
Use Google searches, social media monitoring, review sites, or even simple speed tests to gauge how well (or how badly) competitors are doing. When you notice something frustrating, that’s what your site has to improve on. Steve Tsentserensky highlights that in his guide: a successful ecommerce site isn’t built around what you want to sell, but around what your customers are actually looking for.
Alex – who was mentioned earlier – did the key detective work before launching. He browsed several Etsy shops and ecommerce competitors, and realized that most pushed style and variety but didn’t touch on products’ durability. That gap opened up his niche. He marketed his products as durable and minimalist, and he instantly stood out. His competitors’ work showed him where to aim.
Picking a niche and researching it deeply is what experienced ecommerce professionals do to build customer loyalty. You want to stick in a customer’s memory to thrive. Today, there are millions of ecommerce sites out there, most of which are just blending in – which isn’t what you want. Instead, know your people, know your rivals, and claim a corner of the market – no matter how small – where you can shine.
Step 2 – choose your website platform
Once you’ve nailed down who you’re selling to, and completed the detective work on your competitors, think about where to build your store. Like choosing an architect for your new home, the site-building platform you choose affects everything – from design flexibility to how easily you can scale later.
In 2026, the most popular choices are Squarespace, Shopify, and WordPress with WooCommerce. Squarespace is an all-in-one platform preferred by many entrepreneurs since they don’t have to manage separate hosting, plugins, or security.
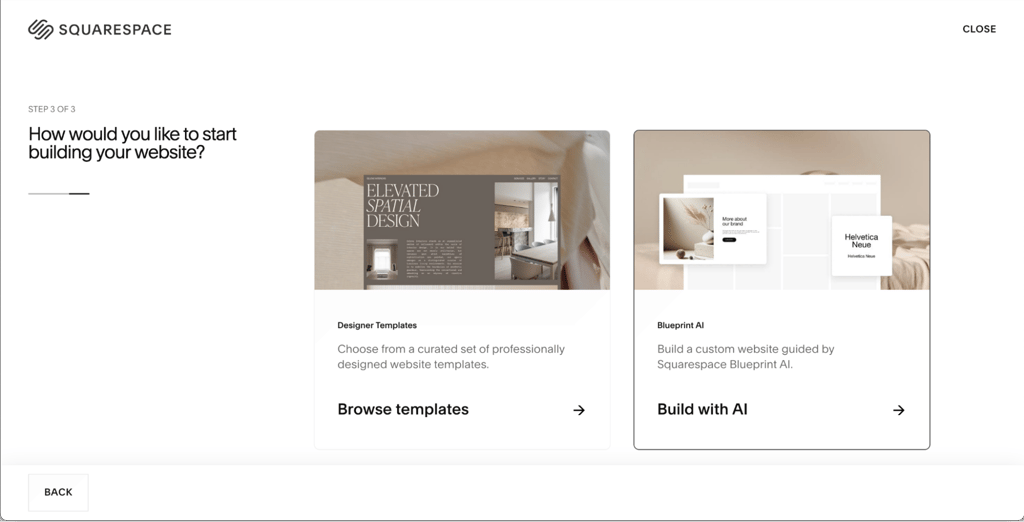
Squarespace provides beautiful templates, product insertion, and built-in tools for payments, inventory, and marketing. There’s a guided onboarding process for easily launching a professional website without coding skills. Its ecommerce tools are powerful and built into the platform, providing a smooth, intuitive experience for entrepreneurs who want to start and grow their online stores with confidence. Squarespace is one of the easiest and most inspiring ways to bring a brand to life online for small to medium-sized businesses.
In contrast, Shopify is purpose-built as an ecommerce tool. It’s often the default go-to for selling at scale with AI tools for an efficient setup, multi-channel selling across social media and marketplaces, and a vast app marketplace. However, costs will rise quickly when you add apps and advanced features to it.
A hugely popular alternative to these is WordPress – when combined with the free WooCommerce plugin. This combo gets you unmatched customization and control, but there’s a learning curve. You’ll need hosting, a theme, and at least a basic understanding of plugins and settings. That said, it has thousands of themes and ecommerce plugins – many of them free – plus a great developer community.
Competitor guides often talk about downloadable tutorials and setup guides that make WordPress more beginner-friendly. As ThemesIsle puts it: “The availability of downloadable guides and plugins makes WordPress an excellent, cost-effective option for those ready to invest time learning the platform.”
Here’s what to consider when you’re trying to pick a platform:
- Budget. Squarespace starts at $16/month, Shopify around $29/month, while WordPress requires hosting and domain costs.
- Technical skill. Be aware that Squarespace and Shopify are more plug-and-play, while WordPress rewards tinkering and coding skills.
- Growth. Squarespace is loved by smaller stores, Shopify grows smoothly with you, and WordPress is for full long-term control.
It’s wise to decide on a platform early. Switching later is time-consuming and labor-intensive.
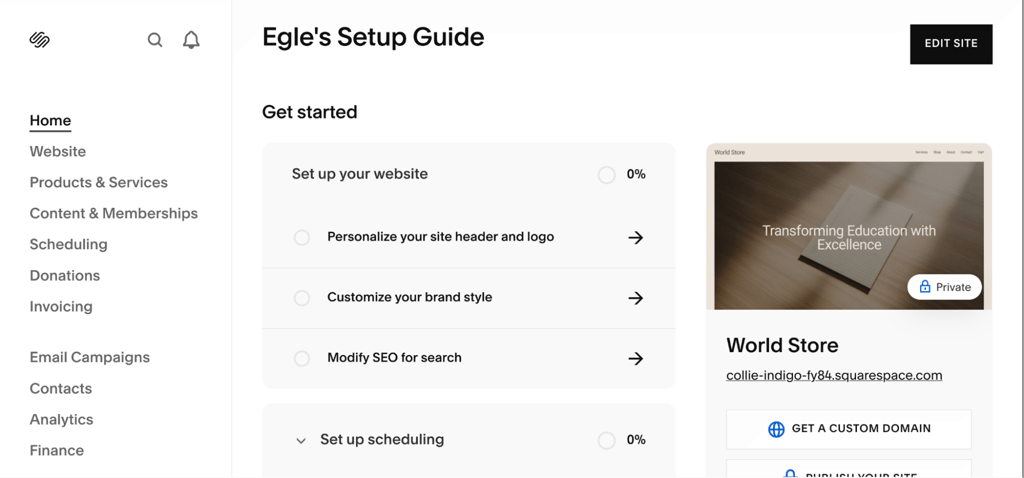
Step 3 – set up and design your online store
Now it’s time to build your store, like framing the walls of your house. That’s what your visitors see first, and how they feel moving from room to room.
Start with your domain – your digital address. Pick a short, easy-to-spell, .com address – ideally. With an annual plan, Squarespace includes a free domain for the first year. With WordPress, domains are acquired through hosting providers or domain registrars. For example, our wallet-maker from earlier – Alex – went with a clean domain that included both his name and product niche. That made it easy for customers to remember and trust.
No matter which website builder you pick, templates are a one-click way to get a professional look. A template gives you a skeleton for your site: colors, fonts, and layout. If you’re a beginner, choose something simple instead of flashy designs that will distract buyers. Squarespace has specific templates for online stores, complete with product grids and integrated checkout sections – great for entrepreneurs.
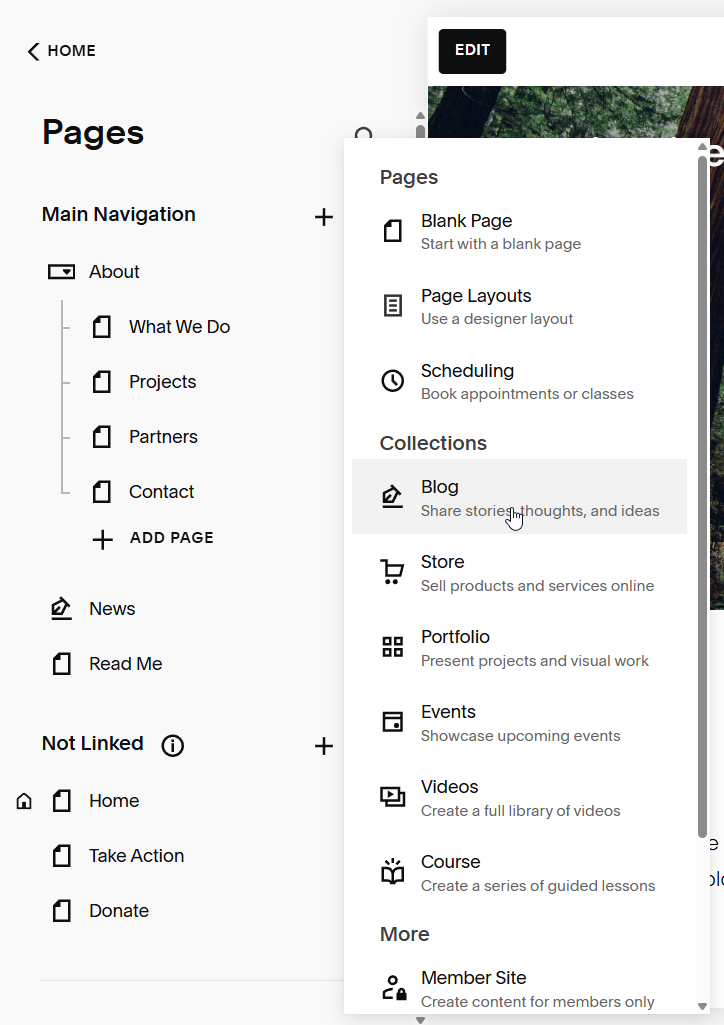
Now, construct your core pages. You’ll need at least:
- Homepage. The main window, with a hero image, quick intro, and a clear “Shop” or “Buy” button.
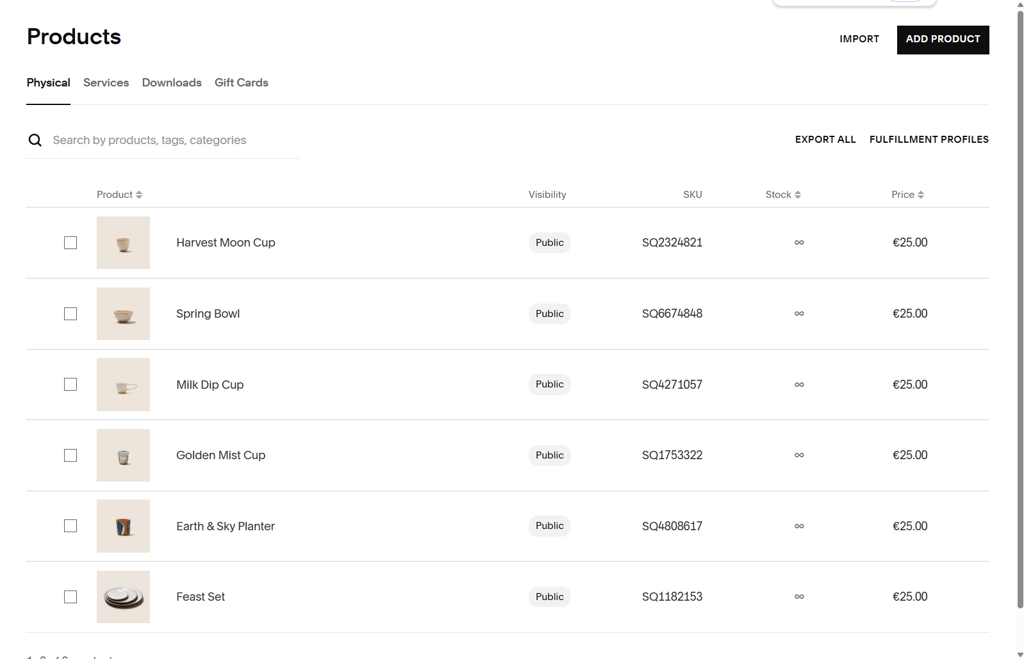
- Shop/product listings. A catalog where your customers browse categories and filter items.
- Product pages. Individual product listings with photos, descriptions, pricing, and reviews.
- Contact page. A simple form or email for customer questions, plus links to social media.
A smart layout tactic is to mimic the competitors you admire. For example, if you notice that a competitor’s homepage places “Best Sellers” directly below the hero banner and this makes you click through, borrow that idea – that isn’t copying, it’s learning what works.
Design with user experience (UX) in mind. Remember, 70% of ecommerce traffic comes from phones, according to Outerbox’s 2025 Mobile eCommerce Stats report. You need clear calls to action (CTAs), trust signals like SSL (Secure Sockets Layer) badges, testimonials, and return policies.
Don’t forget high-quality images. Brands like Warby Parker or Allbirds built trust with crisp product photos, making the customer feel the product. A basic tripod and good lighting will transform your product shots.
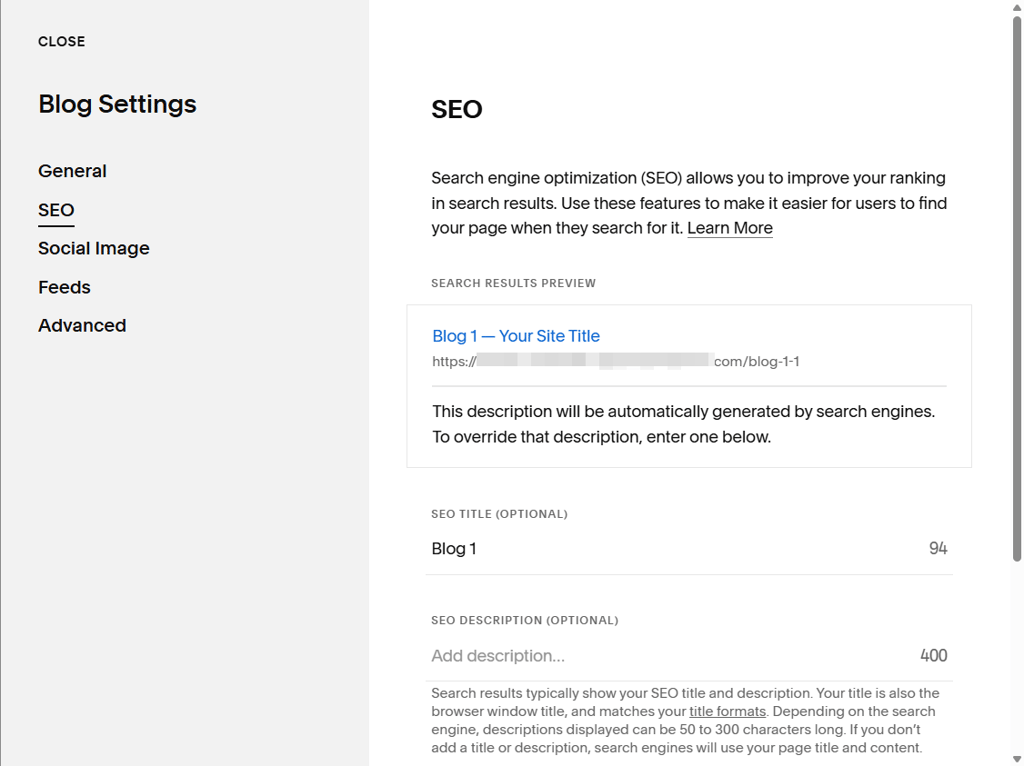
Next, optimize behind the scenes. Compress heavy images for faster loading, use focused alt text for accessibility and SEO (Search Engine Optimization), and keep navigation menus under five to six top links.
Accessibility matters a lot This means your site must be usable by everyone – with proper contrast ratios, legible fonts, and heading tags.
The last step is to preview and test everything before launching. Think like a customer: checkout should be reached in two clicks, and the contact form must go through. A broken button or slow-loading page can cost you sales. Then, do a test run of your site on various devices – like desktop, iPhone, and Android – to see if everything is cohesive across multiple platforms.
Step 4 – add products or services and set up payment methods
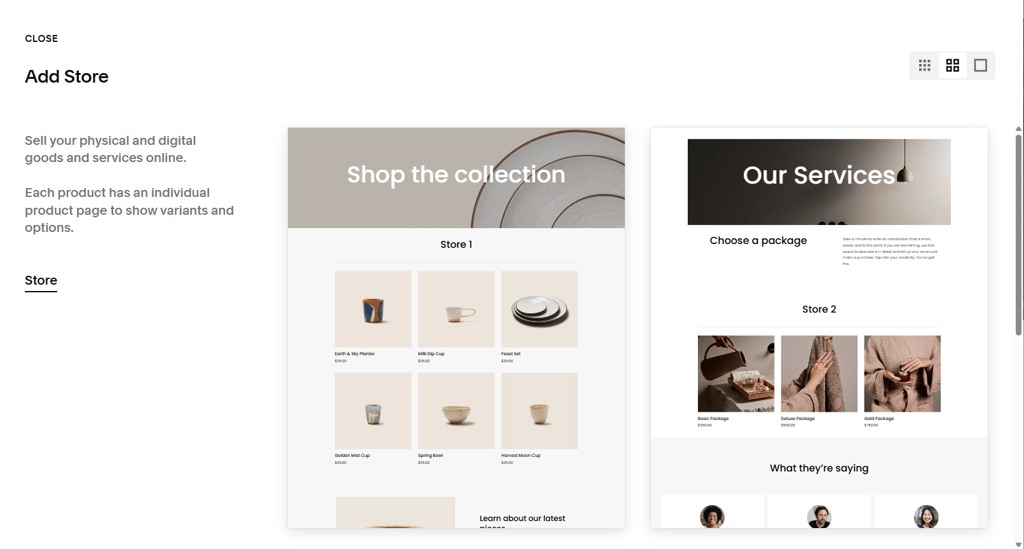
Once your site structure is in place, now you need to fill it with products or services – the heart of any selling website. This is where so many new sellers underestimate the details. Strong product and service listings are the difference between a casual browser and a paying customer.
Competitors’ guides often highlight the same basics: write clear, benefit-focused text and pair it with high-resolution photos. A blurry photo or a description like “100% cotton” isn’t enough to convert customers to buyers on its own. Instead, level up on what competitors are doing by describing what the product does for the buyer (“breathable cotton keeps you cool in summer”), and use multiple images from different angles and in context (e.g., lifestyle shots showing the product in use).
Also, add clear pricing, available sizes or colors, and honest shipping details. If you manage stock, include real-time inventory notices like “Only 3 left” for urgency.
On Squarespace or Shopify, adding payment gateways is easy. Connect credit and debit cards first, then add trusted digital wallets like PayPal and Apple Pay for smooth mobile payment at checkout. A real-world example: Squarespace enables Stripe in a few clicks, allowing cards and Apple Pay transactions instantly. Pairing Stripe with PayPal ticks both security and various customer preferences.
Seasoned sellers know that sellers tend to lose customers at checkout. Avoid this by showing totals, taxes, and shipping costs right away. Use a single-page checkout, and display trust badges (SSL certificates, payment logos, return policies) right where people pay.
Pro tip: Remember to never store card data yourself, but use PCI-compliant processors like Stripe or PayPal.
Finally, test your checkout process like a customer would. Add a product, choose different payment methods, try it on desktop and mobile, and simulate a full transaction to see if money actually lands in your account.
Combining attractive product and service listings with the latest payment gateways – from bank cards to PayPal, Apple Pay, and Stripe – makes a professional store that’s trustworthy, where payment is quick.
To recap, add in your products and test every flow as if you were a customer. This attention to detail makes your site unforgettable.
Step 5 – launch, market, and optimize your online store
At this stage, your online store is almost ready to roll. Before you go live and announce it to the world, everything must work smoothly.
Launch checklist:
- Test your checkout flow one more time by running through test purchases
- Verify that payment gateways (Stripe, PayPal, Apple Pay) process transactions correctly
- Ensure integrations like shipping calculators, email signup forms, and discount codes function
- Use analytics tools – Google Analytics and your provider’s built-in dashboards – to track visitors, conversions, and sales performance from day one
- Make sure your site loads fast and is mobile-friendly
- Ensure you have inserted legal pages
- Go live (publish)
Now, marketing. Usually, successful brands use the same core tactics: SEO, email marketing, social media, and paid ads.
First, SEO makes products appear in search results – without which you’re invisible. Then, email is a line of communication you have with customers. Additionally, social media will amplify your brand presence a lot. Finally, paid ads will bring in targeted traffic.
When setting up Google Analytics, monitor which of your channels drive sales. For example, Instagram may generate lots of clicks but low conversion, while email leads to fewer but more valuable sales. Analytics show you where to put your efforts.
Here’s a quick marketing checklist:
- Optimize product descriptions and text with keywords that match your intent. Ensure each image has alt text.
- Send occasional promotions to customers via email, whether it’s tied to seasons or new product launches
- Use social media to your advantage – share behind-the-scenes photos, product demos, and content generated by customers
- Start small with Google Ads or Facebook Ads to see which audiences respond best
Your work doesn’t stop at launching. You now need to collect feedback and use it to improve your store. Ask customers directly in post-purchase surveys what they liked and what could be improved about your store. You can use positive feedback for testimonials.
Also, conduct A/B testing – running two versions of a page or link – to see which performs better. For instance, change one variable only at a time – like a CTA button or product photo – so you can find out what’s driving improvements.
Finally, stay fresh. Refresh inventory, update photos, and rotate homepage features at least every month. Customers like to see new content and active promotions.
Squarespace promo – the easiest way to build and sell online
In 2026, Squarespace is a top all-in-one platform for entrepreneurs and small businesses. Unlike WordPress or Shopify – which may require separate hosting and plugins – everything’s in one place, from templates to checkout, and setup is intuitive.
Its templates elevate your store and give it class, while the secure checkout system retains customer trust. You get product grids, inventory tools, and email marketing by default – to launch quickly.
Try Squarespace’s free trial, and remember: the platform also has discounts for teachers and students, plus a free domain for the first year on annual plans.
Common mistakes to avoid when selling online
Common mistakes when selling online are messy navigation resulting in abandoned carts, forgetting mobile optimization, and unclear return policies.
Thankfully, these mistakes are easy to fix early. Keep your menus tidy and simple, test your store on a mobile device, and make your policies crystal clear. Avoiding common mistakes will help you convert more visitors to buyers.
Legal and security essentials for ecommerce websites
You must protect yourself and your customers if you want to run a professional online store. You must at least have a Privacy Policy, Terms of Service (if applicable), and Refund/Shipping pages.
Use an SSL certificate to secure data (modern web builders provide this), and accept payments only through PCI-compliant providers like Stripe or PayPal. If selling internationally, be aware of the EU’s GDPR (General Data Protection Regulation), and the US’s CCPA (California Consumer Privacy Act).
How to handle fulfillment and shipping
A sale isn’t finished until the product actually arrives. You can pack and ship your own products, or use third-party fulfillment services. Figure out if you’re charging flat-rate, free, or real-time shipping based on your margins.
Automate tracking emails so your customers know precisely where their order is. If you maintain clear expectations and reliable delivery, happy customers will be eager to come back.
FAQ
How much does it cost to create a website to sell products?
Squarespace or Shopify will cost between about $16-$39/month for a small store, while WordPress with WooCommerce is about $20-$60/month once you factor in a domain, hosting, and plugins.
What is the best platform to build a website for selling products?
Squarespace is best for entrepreneurs making small business websites, Shopify for pure ecommerce, and WordPress + WooCommerce for full customization
Can I sell products online without inventory?
Yes, through dropshipping or print-on-demand, your suppliers ship directly to customers.
Do I need a business license to sell products online?
Requirements depend on your country or state. Most sellers need at least a basic license and to register for taxes.
How do I get traffic to my new online store?
Combine SEO, social media, email marketing, and paid ads. Consistency and testing are key to long-term growth.