How to set up a static IP address in 2026
Our in-house cybersecurity experts and journalists, renowned for major reports like The Mother of All Breaches, conduct transparent, unbiased VPN testing and in-depth analysis.
With 750+ articles crafted based on real-world research, we empower readers to make informed purchasing decisions through first-hand expertise.
Learn more
A static IP address – the type of address that never changes whenever you connect to a device or network – is meant to offer a permanent, unchanging digital identity. Why is that important? It’s supposed to ensure your connected devices can always be reliably found online.
Static IP addresses are essential for hosting a private server, running a business website, or managing secure access for remote employees. Fortunately, you don’t need technical skills to learn how to set up a static IP address in 2026. In this guide, I show how to do it on macOS, Windows, iOS, Android, routers, and Comcast devices.
Why use a static IP address?
Static IP addresses never change. Therefore, they are suitable for computers that act as servers, devices that share a printer, or access to servers from any location. They can also help establish reliable VPN connections for secure remote work. Let’s have a look at the main reasons you may need a static IP address:
- Enhanced network security. Although dynamic ID addresses are generally considered more secure, static IPs come with specific additional security layers.
- Sharing devices. It’s best to use a static IP address when sharing devices, like printers, with your housemates or your co-workers.
- Better tracking. Keep in mind that static IP addresses provide more accurate geolocation data. So, if you’re utilizing such data as your job activity, a static IP address will come in handy.
- Hosting servers. Static IP addresses enable more computers and operating systems to connect to the same IP address by finding it easily. Therefore, you will get better remote access to closed networks.
- Easier usability for administrators. Static IPs help administrators easily assign access and permissions, as well as track internet traffic.
- Reliability of VoIP calls. The reliability of your VoIP calls on apps such as Skype, FaceTime, Zoom, or Google Meets will significantly improve with a static IP address.
- Straightforward connection with your PC. By using a static IP address, you will be able to connect to your PC from anywhere. This is usually done if you use a VPN that comes with dedicated IP addresses.
- Setting up a personal email server. You can establish your own unique email server to prevent privacy concerns and filter unwanted email messages.
- Faster speeds. Static IP addresses ensure faster speeds when you’re downloading or uploading content, as well as transferring files, compared to dynamic IPs.
6 ways to set up a static IP address
Now that you are familiar with the perks of using one, you just need to learn how to set a static IP address on your preferred device. Our Cybernews experts have prepared 6 easy step-by-step guides for different operating systems and devices.
Set up a static IP address on macOS
Setting up a static IP address on a macOS device is easy with the following steps:
-
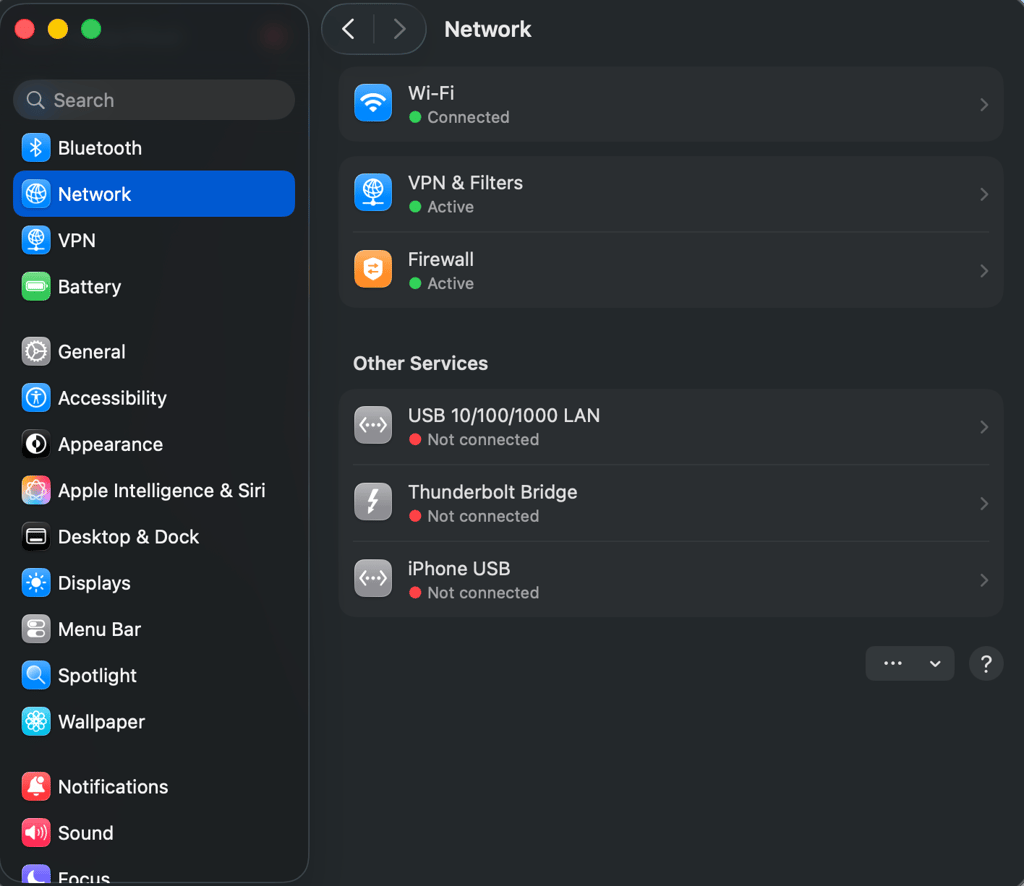
Open the Apple menu and go to System Settings > Network

-
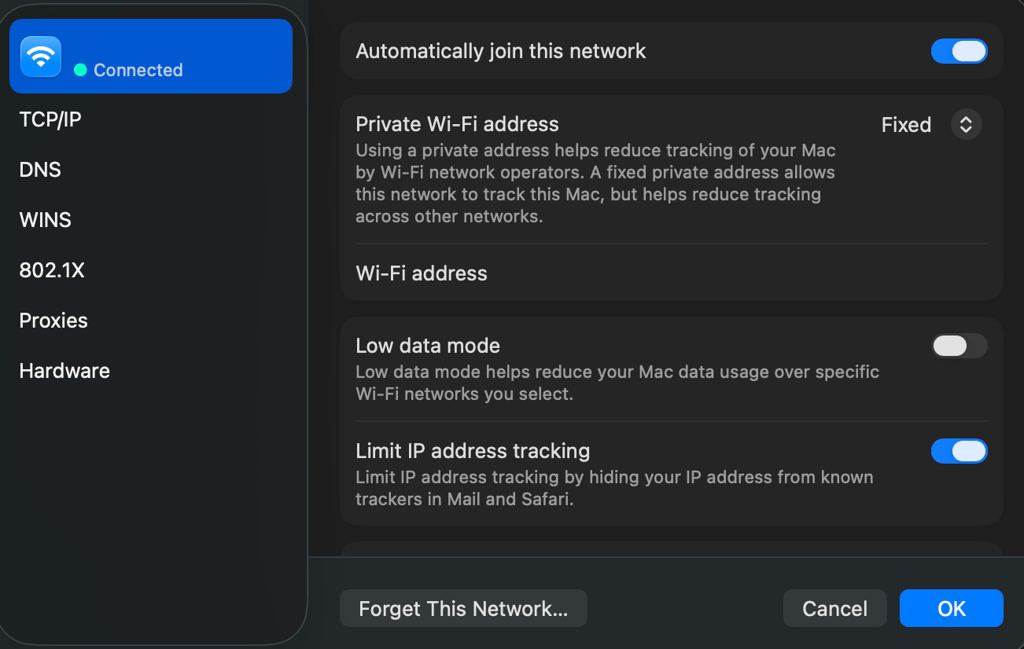
Select your network connection and click Details

-
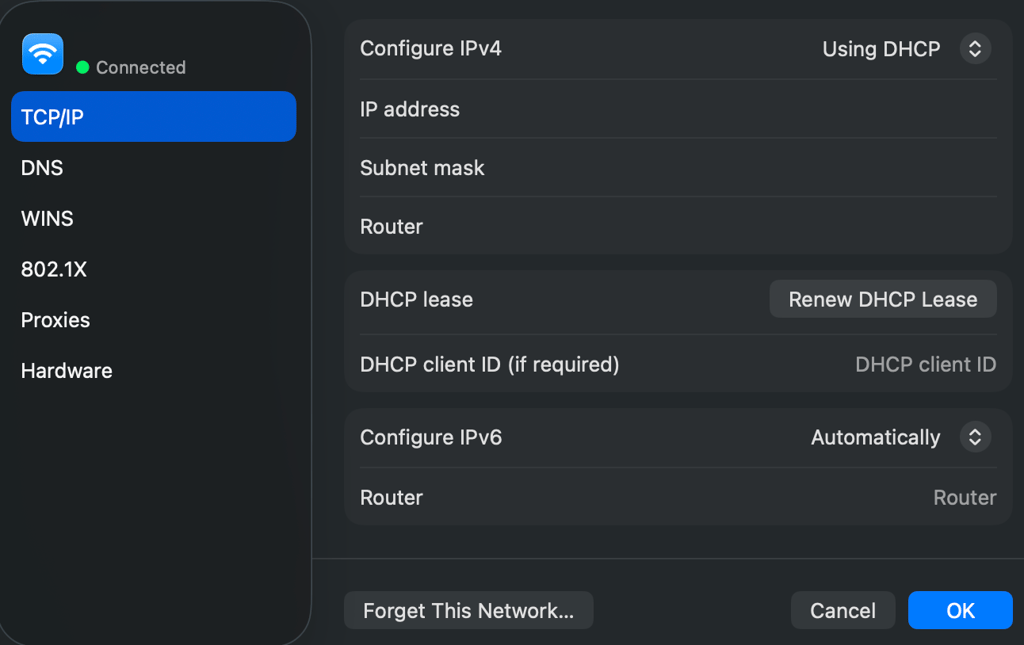
Go to the TCP/IP tab, where you can find all IP address-related data

-
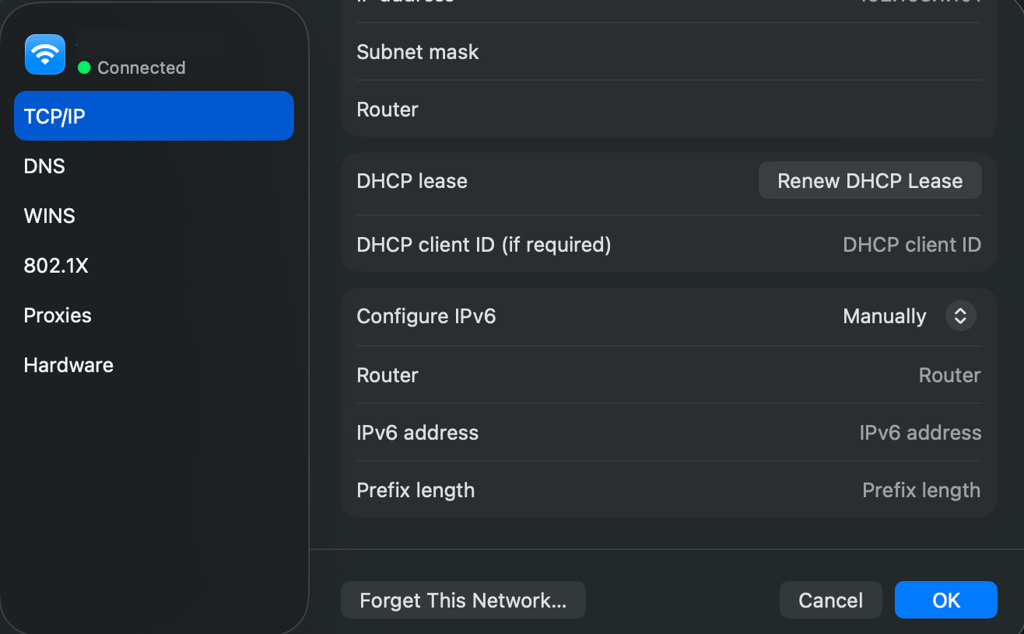
In the Configure IPv6 drop-down menu, select Manually

- Fill in the details, such as IP address and subnet (check step 3 for where to find the information), and apply the changes
Set a static IP address on Windows (10 and 11)
The process of setting up a static IP address on Windows is quite different from the one on macOS devices. Here’s what you need to do:
-
Go to Settings > Network & internet

-
Click Advanced network settings > Hardware and connection properties – here you can find all IP address-related information

-
Go back to Network & internet: if you are using Wi-Fi, open the menu, and click Properties; if you are using Ethernet, open the Ethernet menu

-
Find the IP assignment option and click Edit
-
From the drop-down menu, select Manual

- Select IPv4 or IPv6 and toggle it on
-
Type in IPv4, Subnet mask, Default gateway and DNS address and click Save


Set up a static IP address on Android
How you set up a static IP address on an Android smartphone will vary depending on your device. For this guide, I’m showing how to set it up on a Samsung A56. Here are the steps:
-
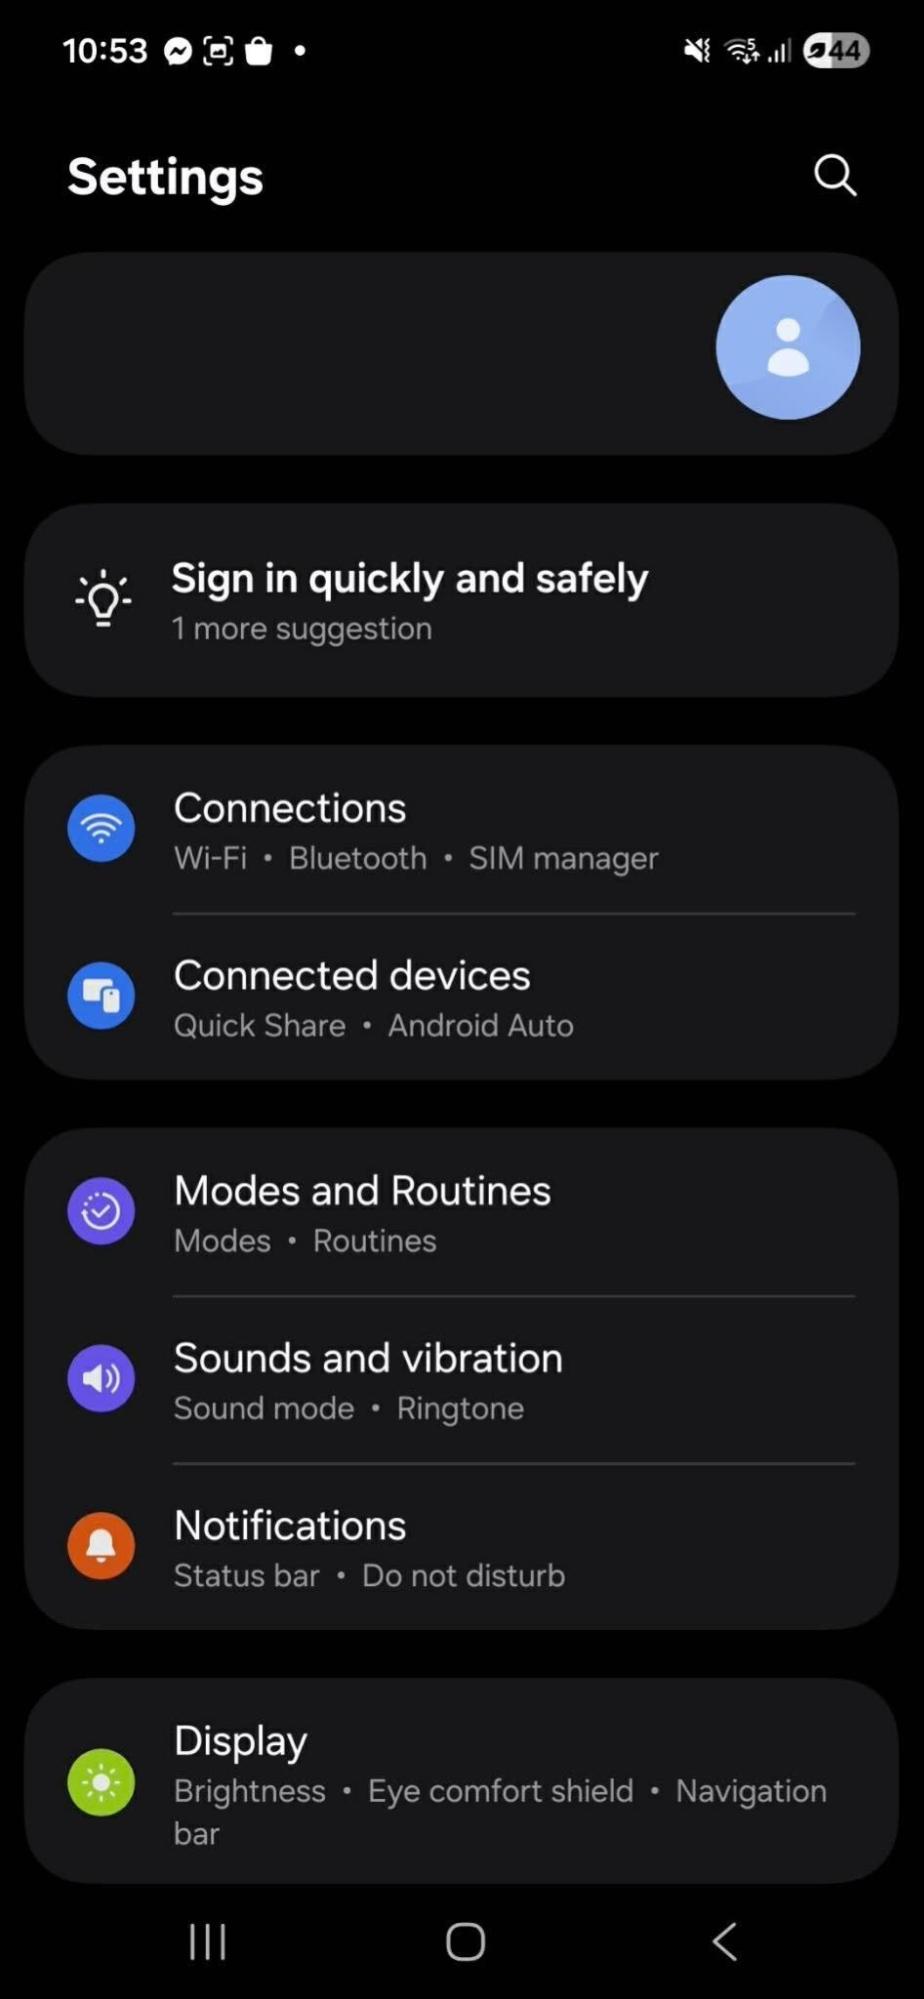
Go to your phone’s Settings > Connections and tap Wi-Fi

-
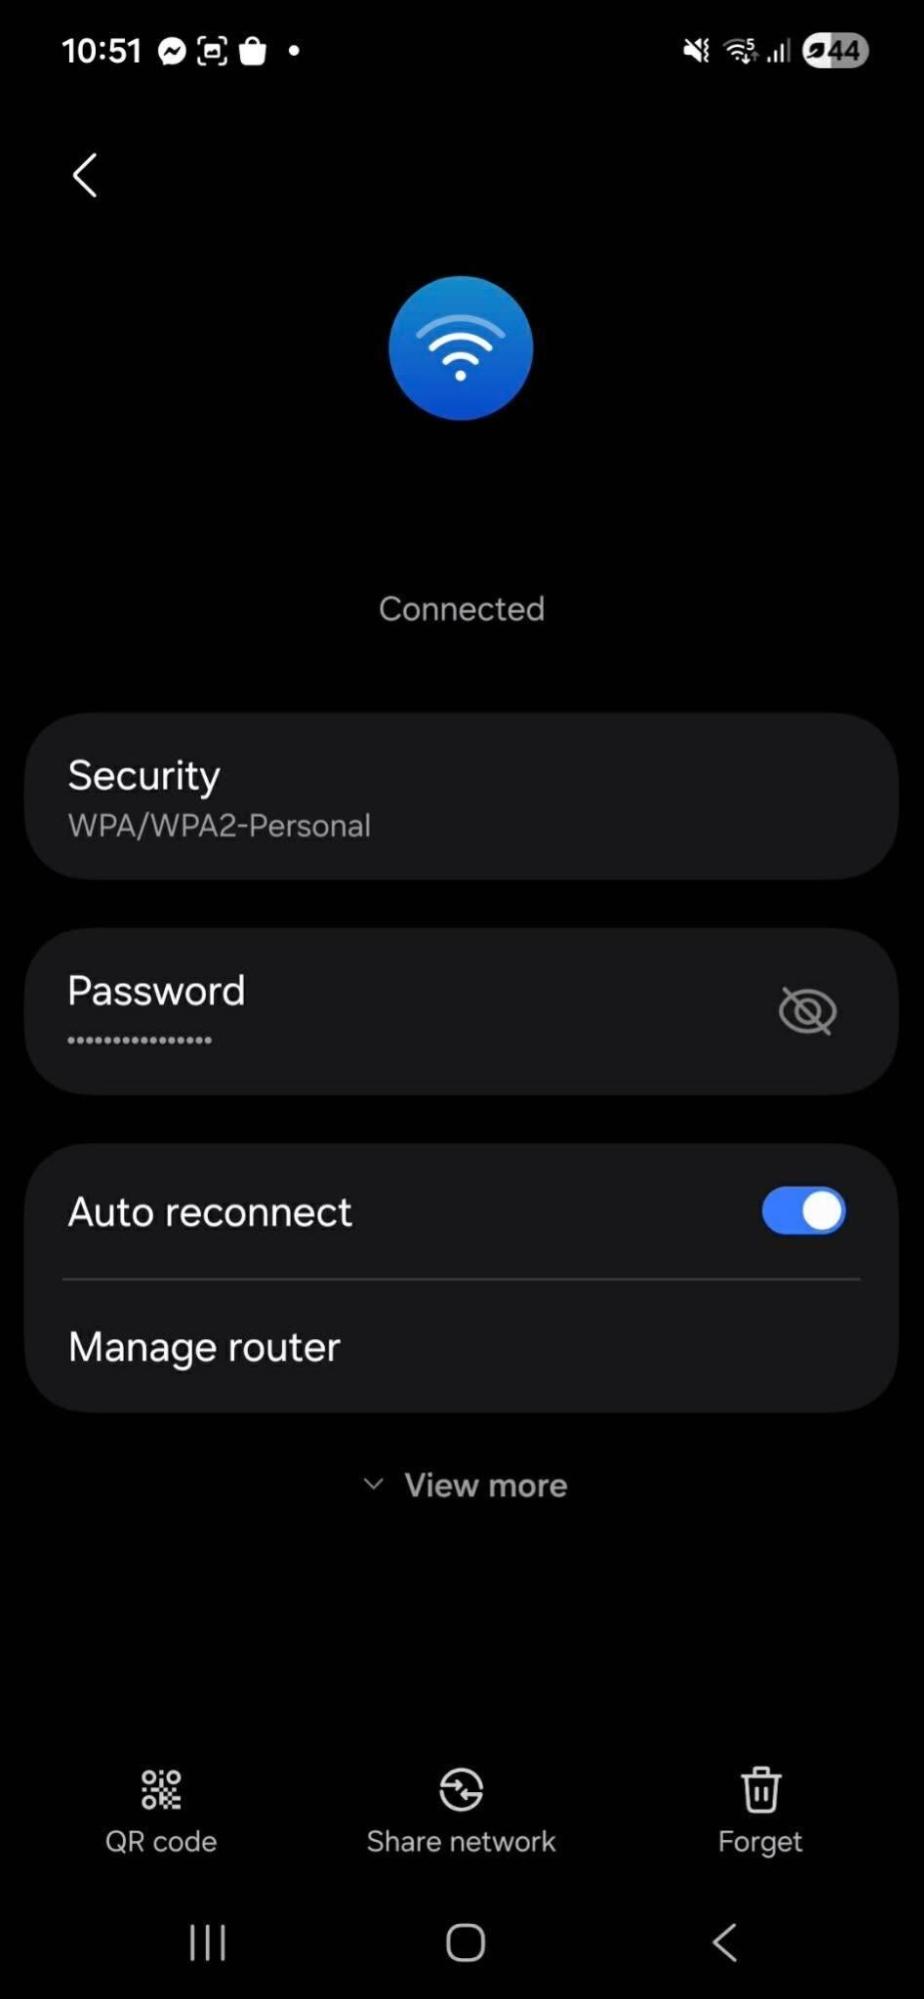
Tap your current connection (depending on the device model, you might need to tap the cog icon or the i icon or press and hold the connection name until more settings come up)
-
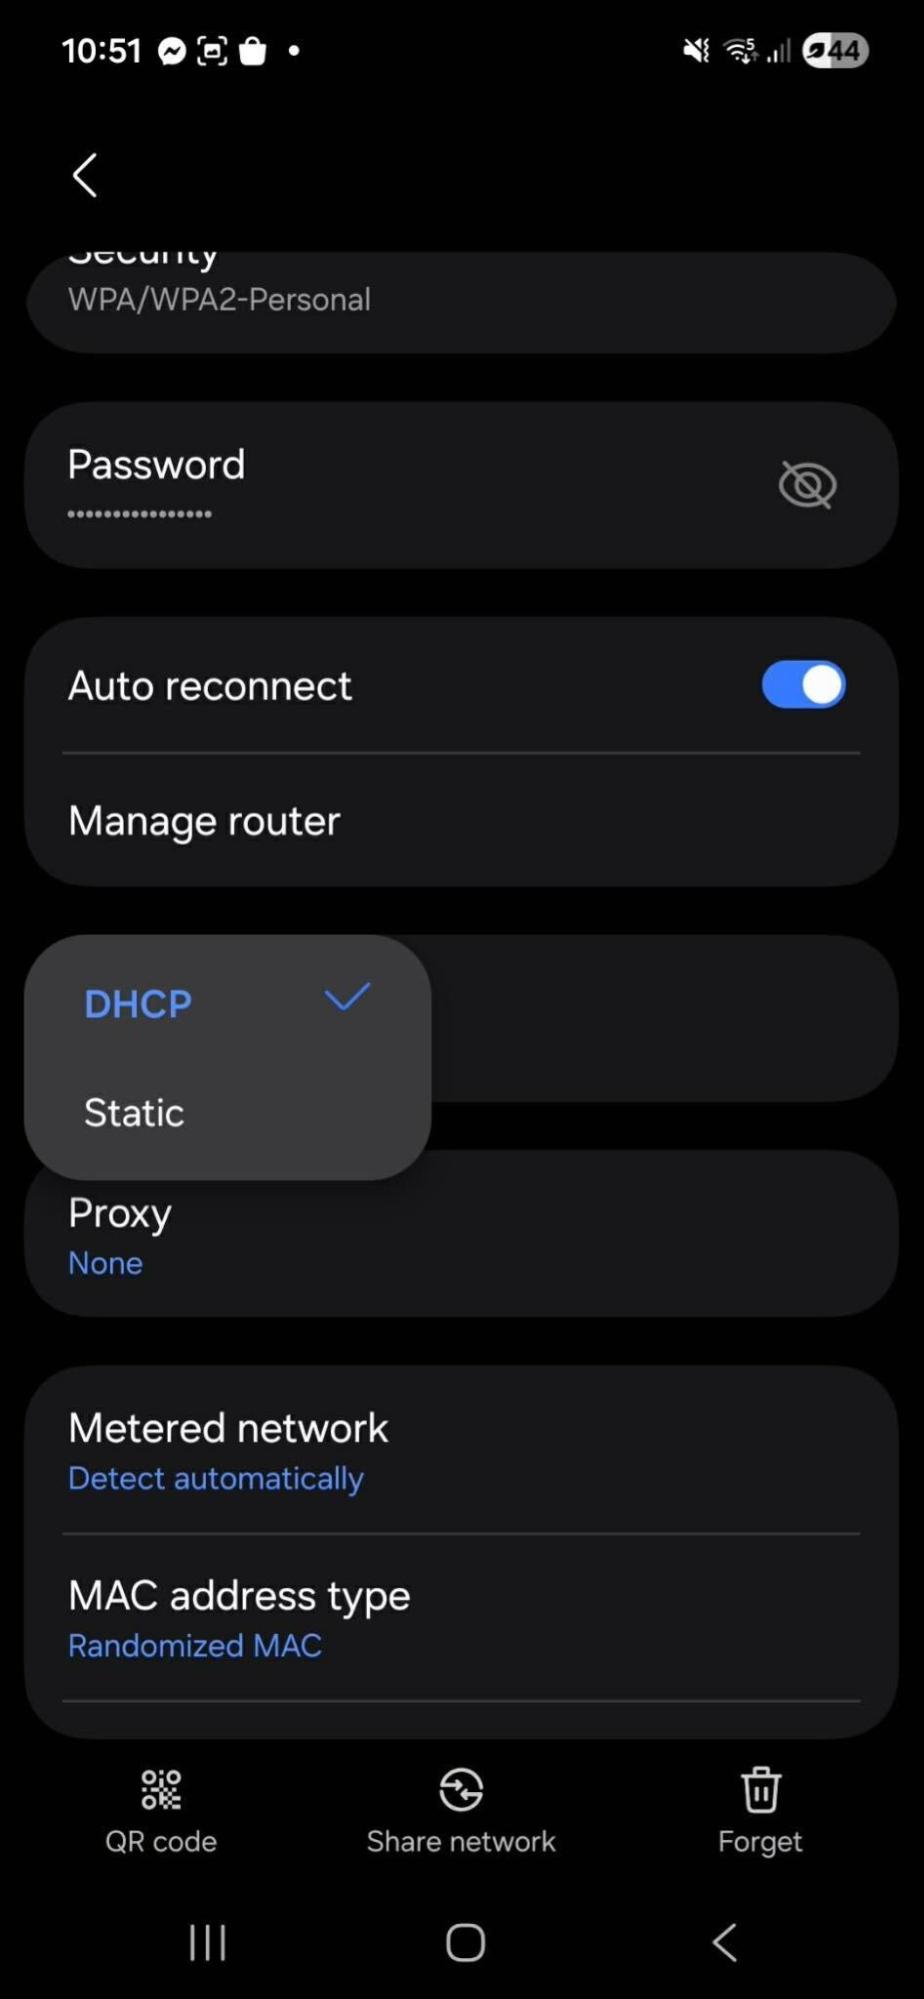
Tap View More > IP settings and select Static
-
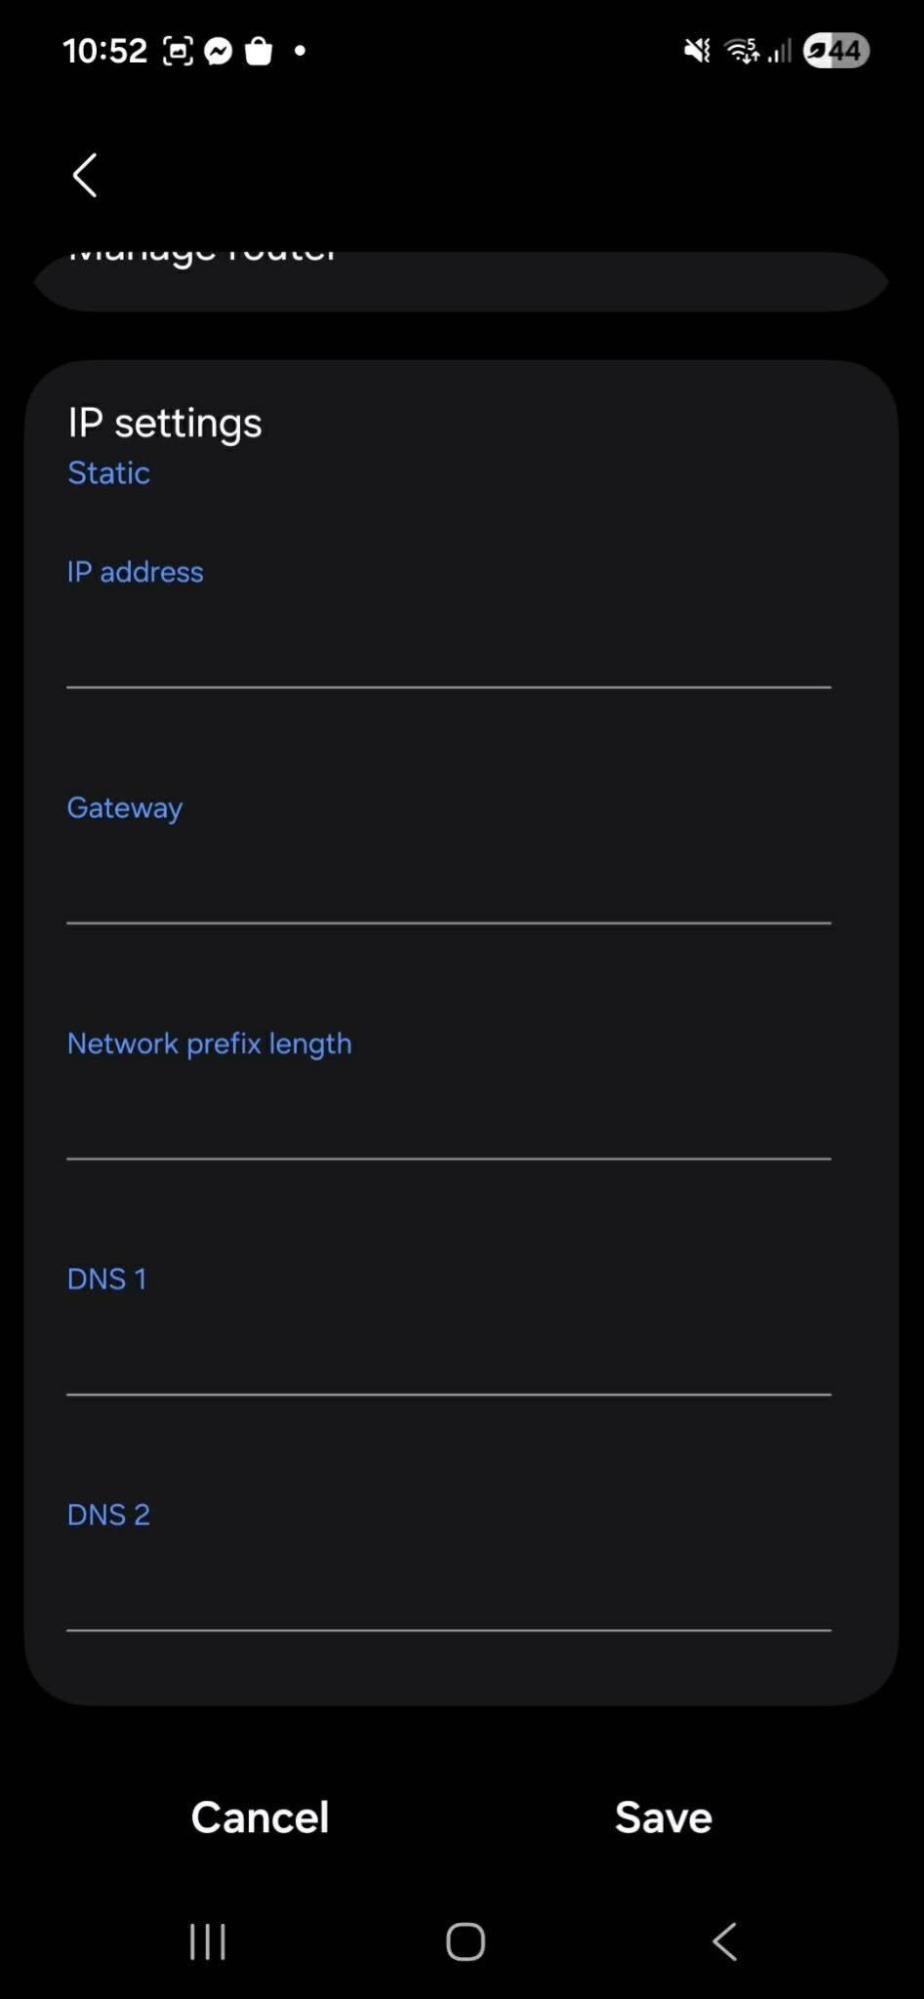
Input your static IP address (on some devices, it will be filled in automatically; you can also go back to the connection’s menu and scroll to the bottom to find the IP address section with all the information)
- Confirm by tapping Save
Set up a static IP address on iOS
Compared to the Android process, the setting up of a static IP address on iOS is more or less similar. Here is how you can make your IP address static:
-
Go to Settings and select Wi-Fi

-
Select your current connection and, under IPv4 address, select Configure IP
-
Choose Manual
- Fill in your static IP address (you can find it back in the IPv4 address menu) and click Save


Set up a static IP address on your router
This method allows you to set a static IP address on specific devices through the router level. You need to know the MAC address of this particular device. Also, the configuration depends on the router brand and model, but the main principles are the same. It may seem complex, but it really is not. Let’s see how you can do this:
- Access the configuration page of your router – this is usually done by typing in your IP address in the browser’s search bar at the top
- Look for the section that is called something like Static IP addresses, DHCP reservations, LAN settings, or similar
- On the router’s configuration page, input the device’s MAC address and the static IP address you want to assign
- Save the changes
Set up a static IP address on Comcast
You can reserve a LAN IP address with the Comcast Business plan. Here’s what you need to do:
- Go to your Comcast Business Gateway Admin Tool
- Click Connect Devices
- If your device is already on the network, click Edit, select Reserved IP, and then click Save
- If your device is not on the list, select Add a device with reserved IP
- Fill in the Host Name, MAC Address, and Reserved IP Address, then select Save
Conclusion
While dynamic IP addresses can be more secure in some cases, static IP addresses come with additional security layers. They also allow you to easily connect to other devices, ease your access to a certain device if you’re sharing it with more users, give you straightforward remote access, or enable you to host servers without an issue.
So, if you’re interested in how to set up a static IP address on your device, you should definitely check out our 6 step-by-step guides for different devices, which will provide you assistance during the process.
More guides from Cybernews:
Types of VPNs and when to use them: learn all about different VPN types
How to set up a VPN: a detailed guide for setting up a VPN
Tor and VPN: learn the differences between Tor and VPN
VPN protocols explained: all you need to know
How to change location and IP address: a comprehensive guide
FAQ
How do I get my static IP address?
You can set up a static IP address on your Windows, macOS, Android, and iOS devices using a few simple steps. Additionally, you can set it up on your router or Comcast device. Have a look at our guides on how to set up a static IP address for more information.
What is a static IP address, and how do you use it?
A static IP address is an IP address that doesn’t change. Therefore, you can use it to host servers, gain remote access, share devices and resources with other users, set up a personal email server, and more.
How do I set a static IP address on my router?
To set a static IP address on your router, you just need to know its MAC address. Then, open the configuration page, find a section regarding the static IP address, input the static IP and MAC addresses, and save this information. Here’s a full guide on how to do this.
How do I set a static IP address for free?
You can set a static IP address for free using a DDNS provider, a VPN that has no additional charges for static IPs, or by using cloud computing platforms like Amazon Web Services, Microsoft Azure, and Google Cloud Platform.